Do you still remember that in the era when the iPhone operation relied on the Home button? During this period, some friends deliberately turned on “AssistiveTouch” in the auxiliary settings to extend the life of the Home button. With the continuous evolution of iPhone design, the iPhone with the Home button has gradually been replaced by the full-screen iPhone. Today, it is rare to see anyone enable AssistiveTouch again. In addition to AssistiveTouch, I present these uncommon tips on the iOS accessibility settings.
7 Uncommon Tips on the iOS accessibility settings That You Might Need
I will describe some not-so-popular but useful features of iOS accessibility settings and their location. Enjoy this with me, and drop your comment after reading.
1. Lower The White Point Value To Make Your Screen Darker: Good For Your Vision
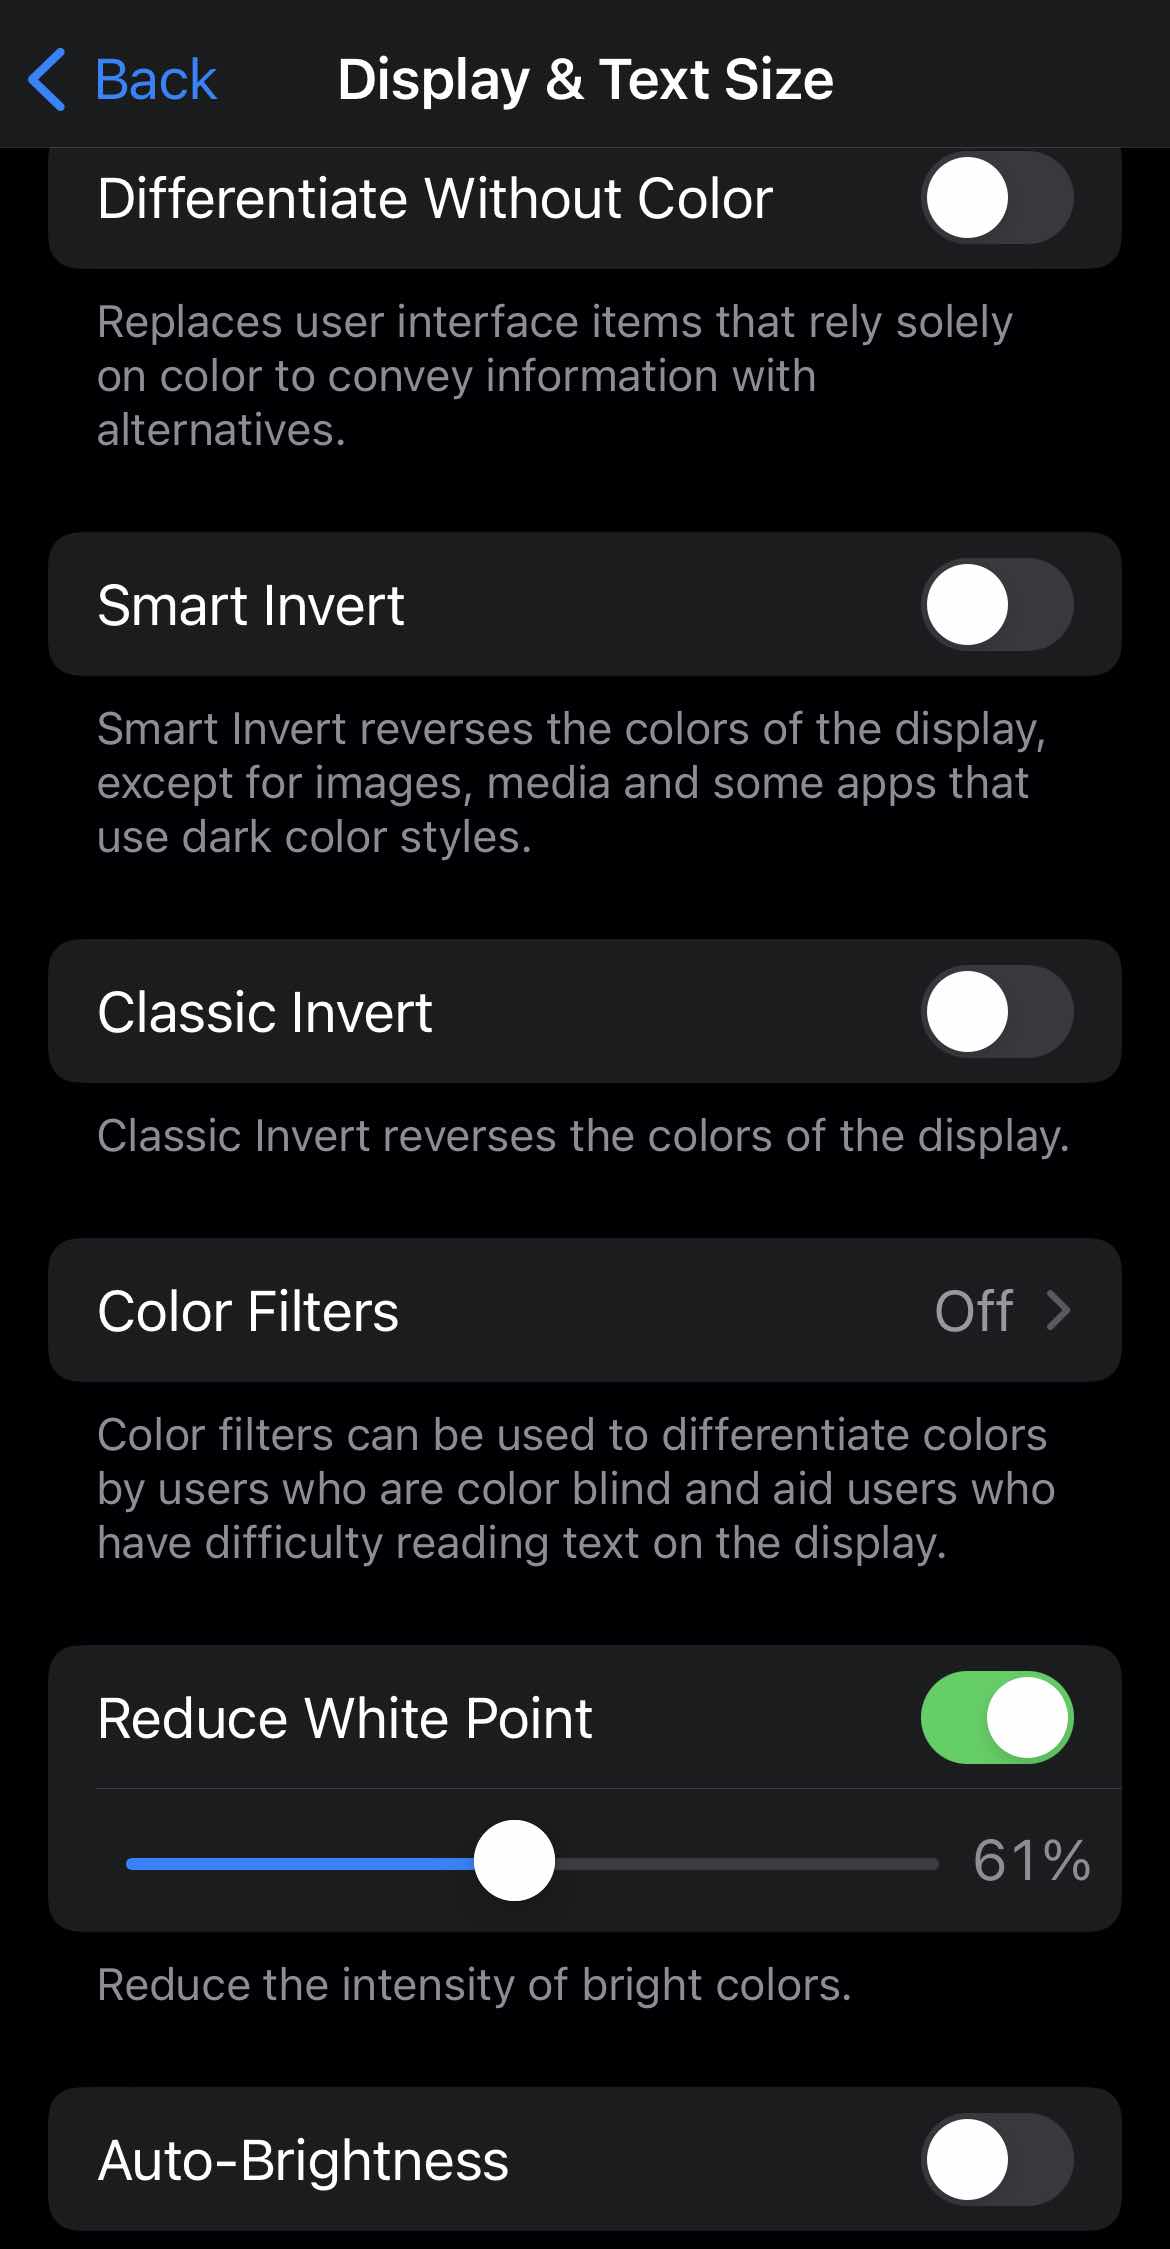
Function path: “Settings”>> “Accessibility”>> “Display and text size”>> “Reduce white point”
Since iOS 13, Apple has brought a “dark mode” to the iOS system. After the dark mode is turned on, the system will adjust the background color to black. Looking at the screen at night relieves the visual strain to a certain extent and makes the eyes more comfortable.
I wouldn’t say I like dark backgrounds and never use dark mode. After the night mode is enabled in some apps, user interfaces and color schemes will be redesigned, and there is a slight difference from the normal mode, which makes me unable to adapt.
Unfortunately, if you are in normal mode and you set the brightness of the iPhone to the lowest, it still feels dazzling at night.
In addition, you can manually turn on “Reduce White Point Value” in the accessibility settings. All you have to do is to drag the slider to select the value you need between 25% and 100%.
After lowering your iPhone screen brightness, try to turn on “Reduce white point value” to dim the screen brightness further.
2. Balance Your Audio Sound By Easily adjusting your Earphones
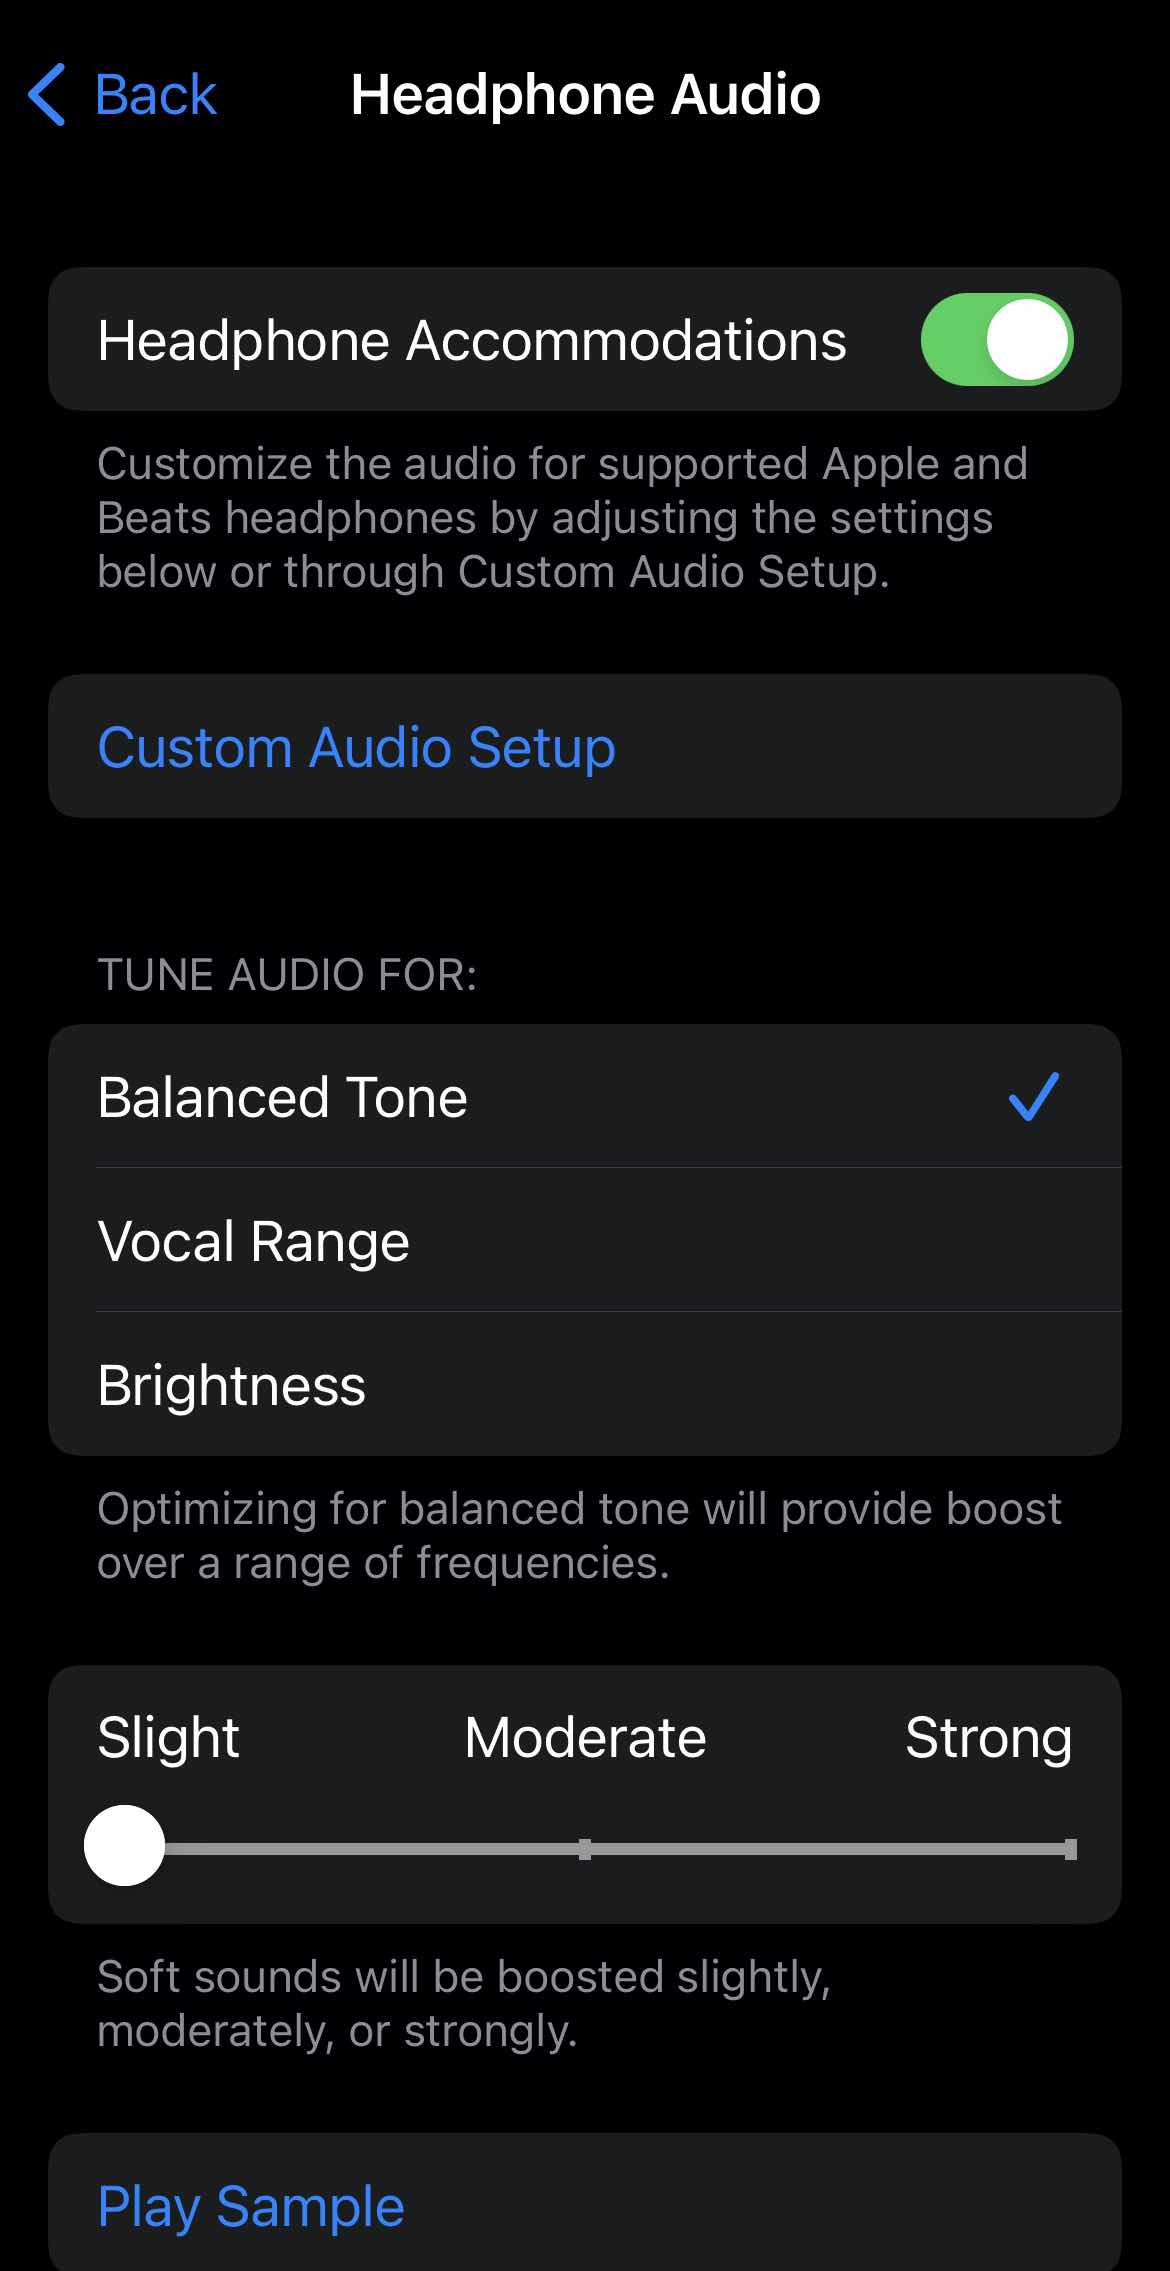
Location: “Settings”> “Accessibility”> “Audio/Visual”> “Headphone Adjustment/Headphone Accommodations”
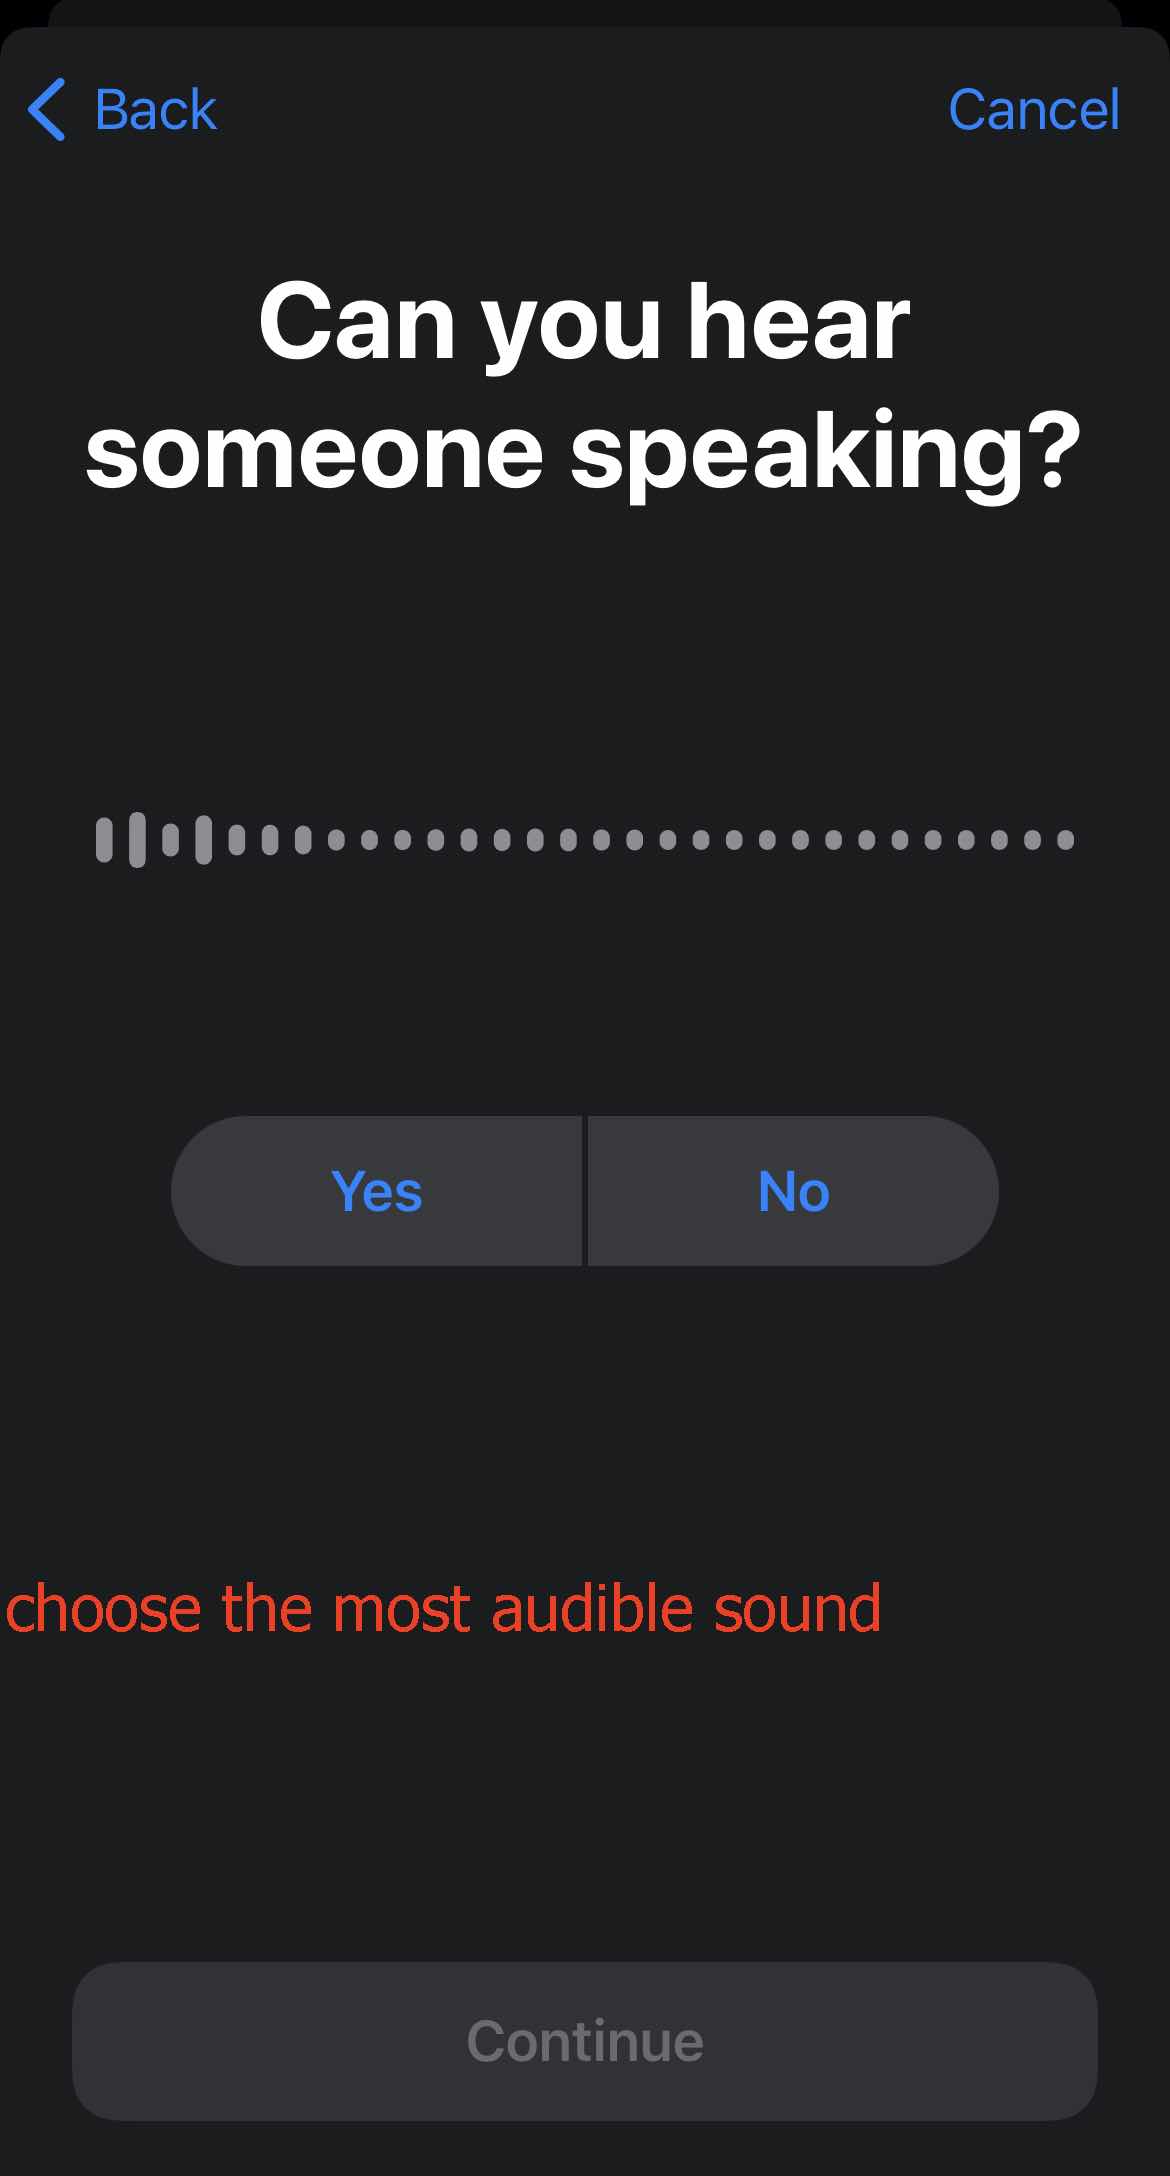
If you usually use Apple AirPods or Beats headphones, through a simple hearing test, you can choose between the headphones’ balanced Tone, vocal range, and brightness to get more suitable audio settings.
This function can amplify faint sounds and adjust specific sound frequencies according to your preferences to make them sound more in line with your listening preferences.
Headphone Audio Customization

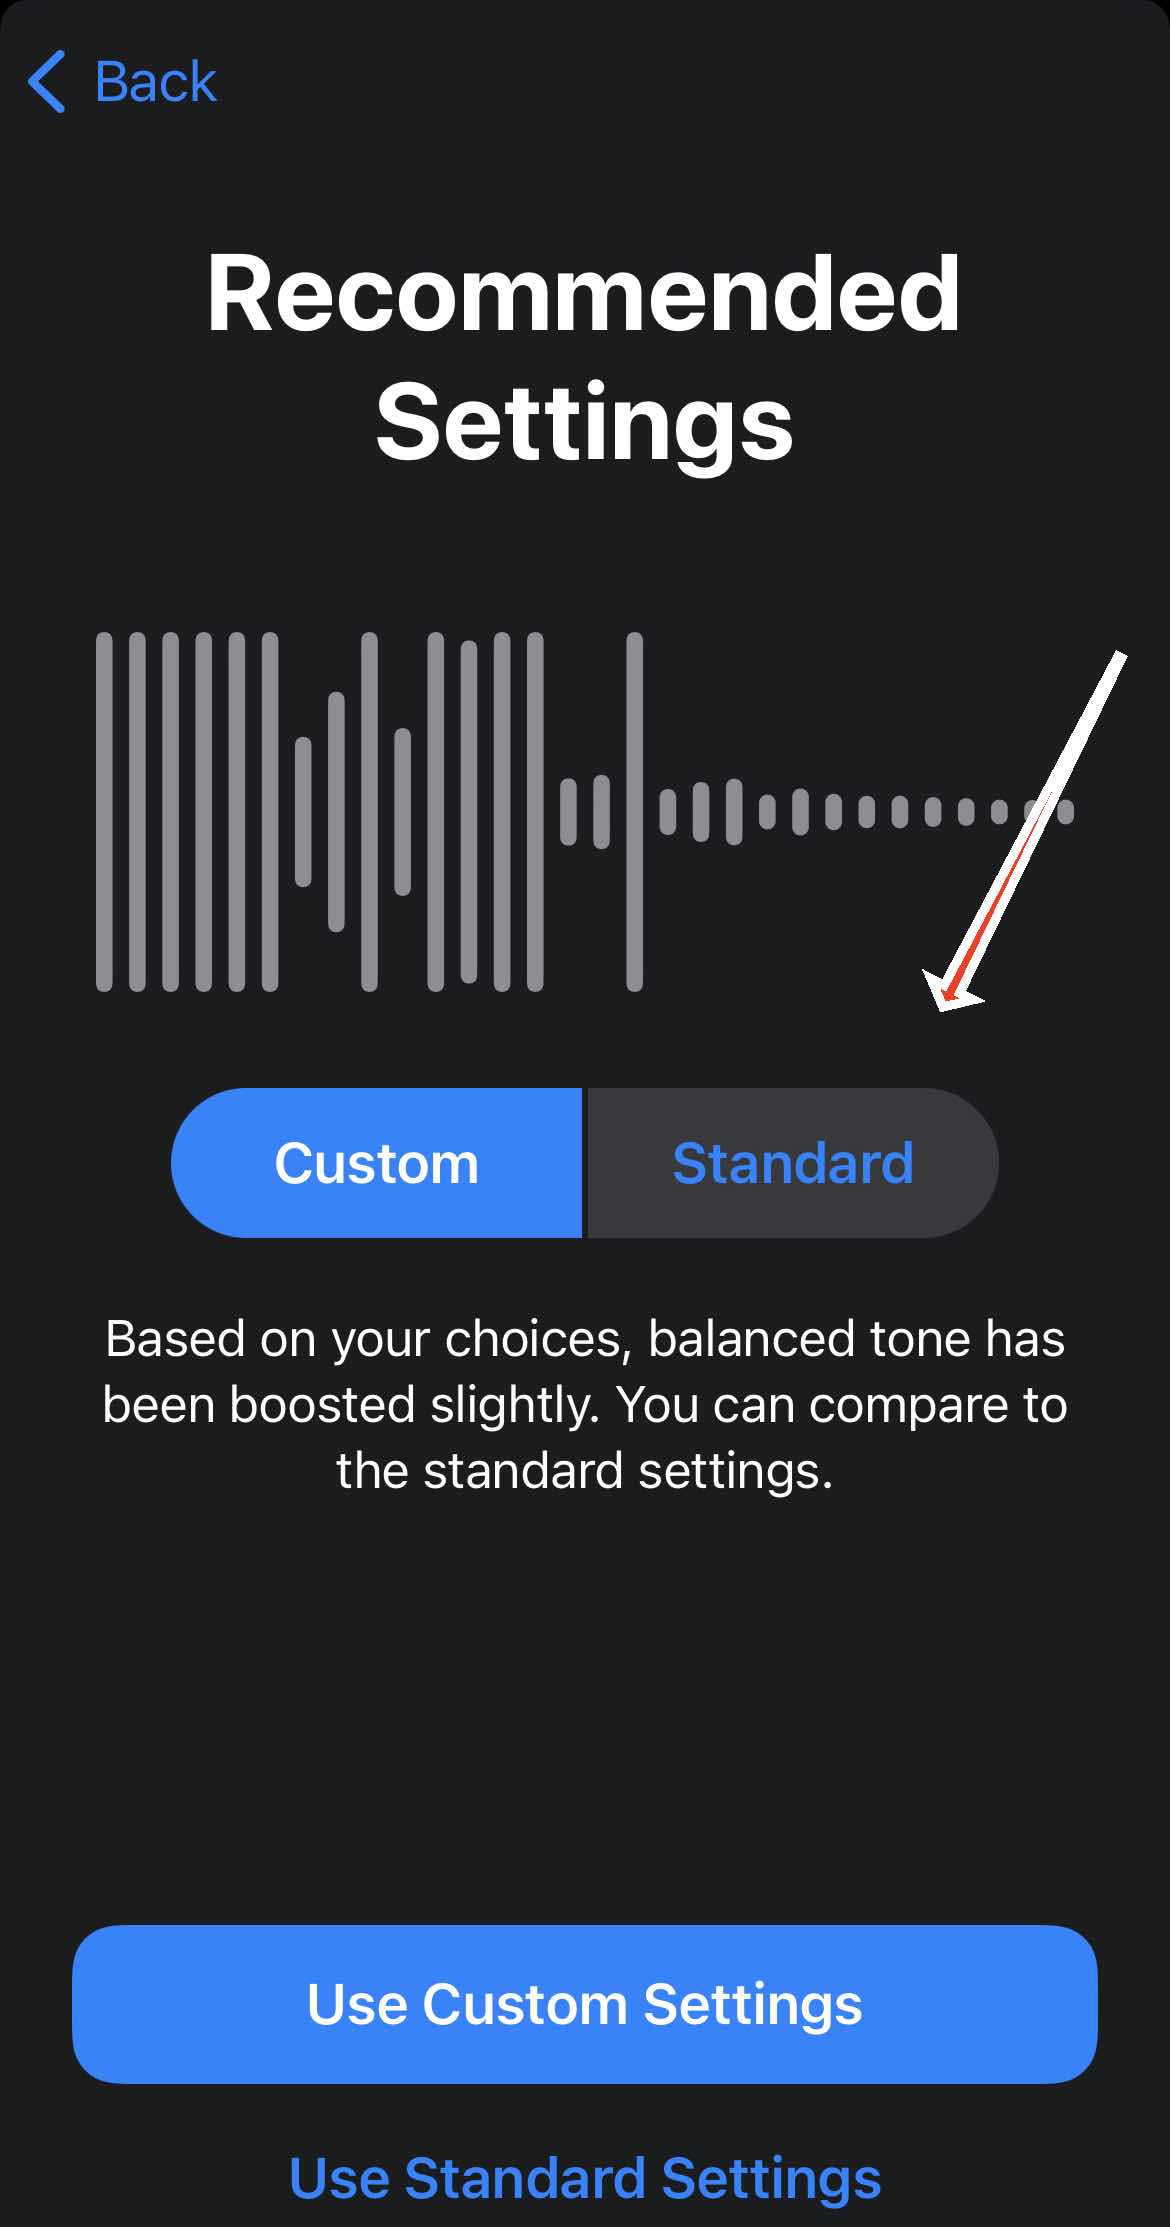
AirPods Pro and AirPods Max users can also customize the transparency mode here to adjust the noise reduction effect of the headset. However, the setting here focuses on enhancing the human voice or environmental noise in the background rather than enhancing the noise reduction performance.
Read Also:
3. Background Sound Customization: Similar to the One In “white noise” App
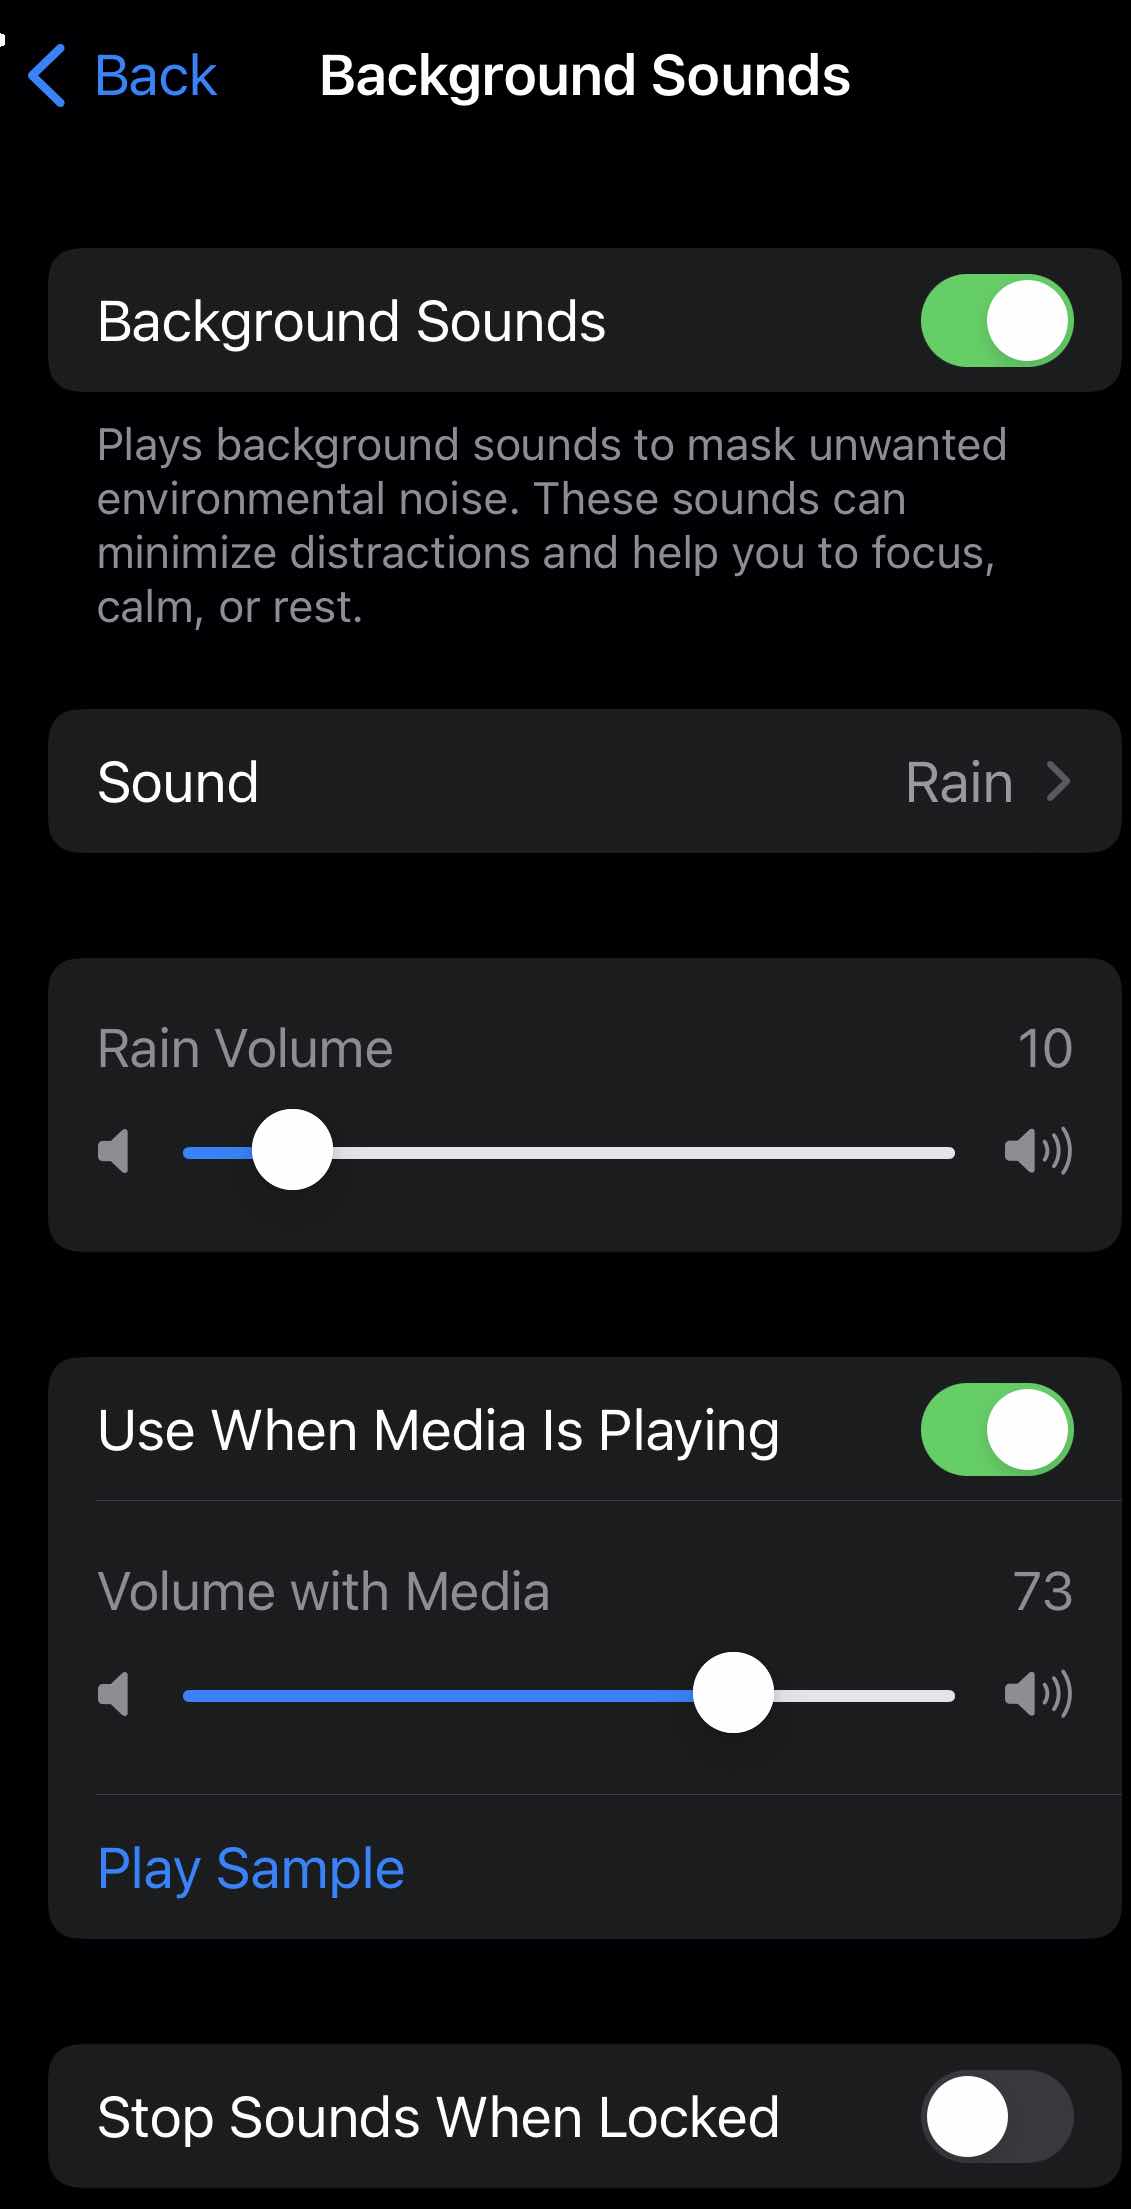
Function path: “Settings”> “Accessibility”> “Audio/Visual”> “Background Sound”
The new “background sound” function in the auxiliary settings of iOS 15 is similar to the “white noise” app that many people have used. By playing background noise, reduce the real environmental noise. Some friends may need it during work, study, or rest.
As a system-level function, the advantage of “background sound” is that these background sounds can be combined or superimposed with other audio or system sounds being played on your device. You can enjoy a movie accompanied by white noise or listen to your favorite music. And you can adjust the volume during media playback to ensure that the background sound does not “overwhelmingly” the media audio.
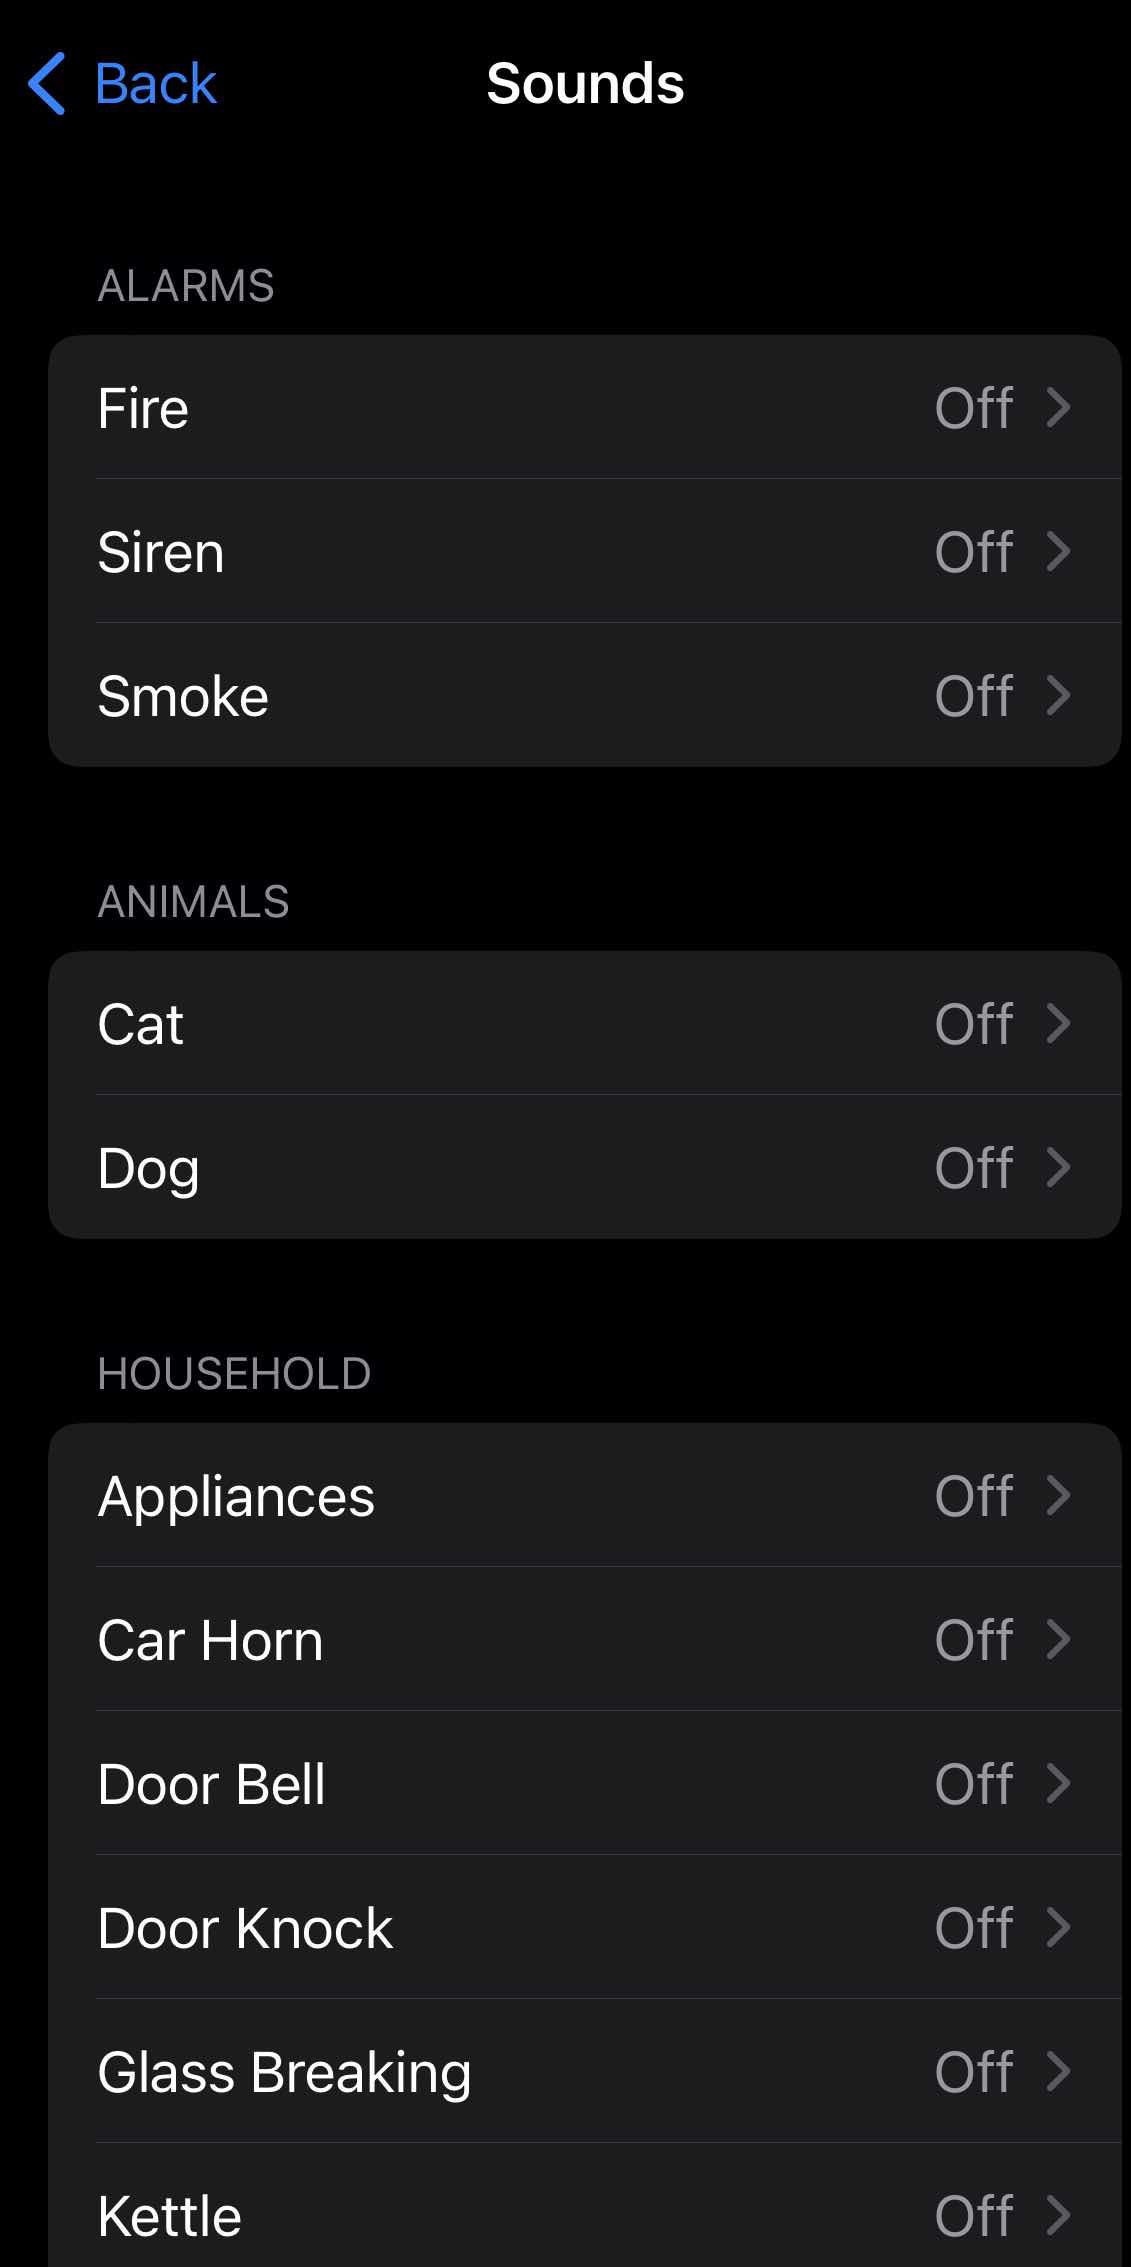
The disadvantages are also obvious: as a built-in function of the system, the sound types are not as rich as that of professional white noise apps.
4. Tap the back of Your Phone To Quickly Trigger System Operations
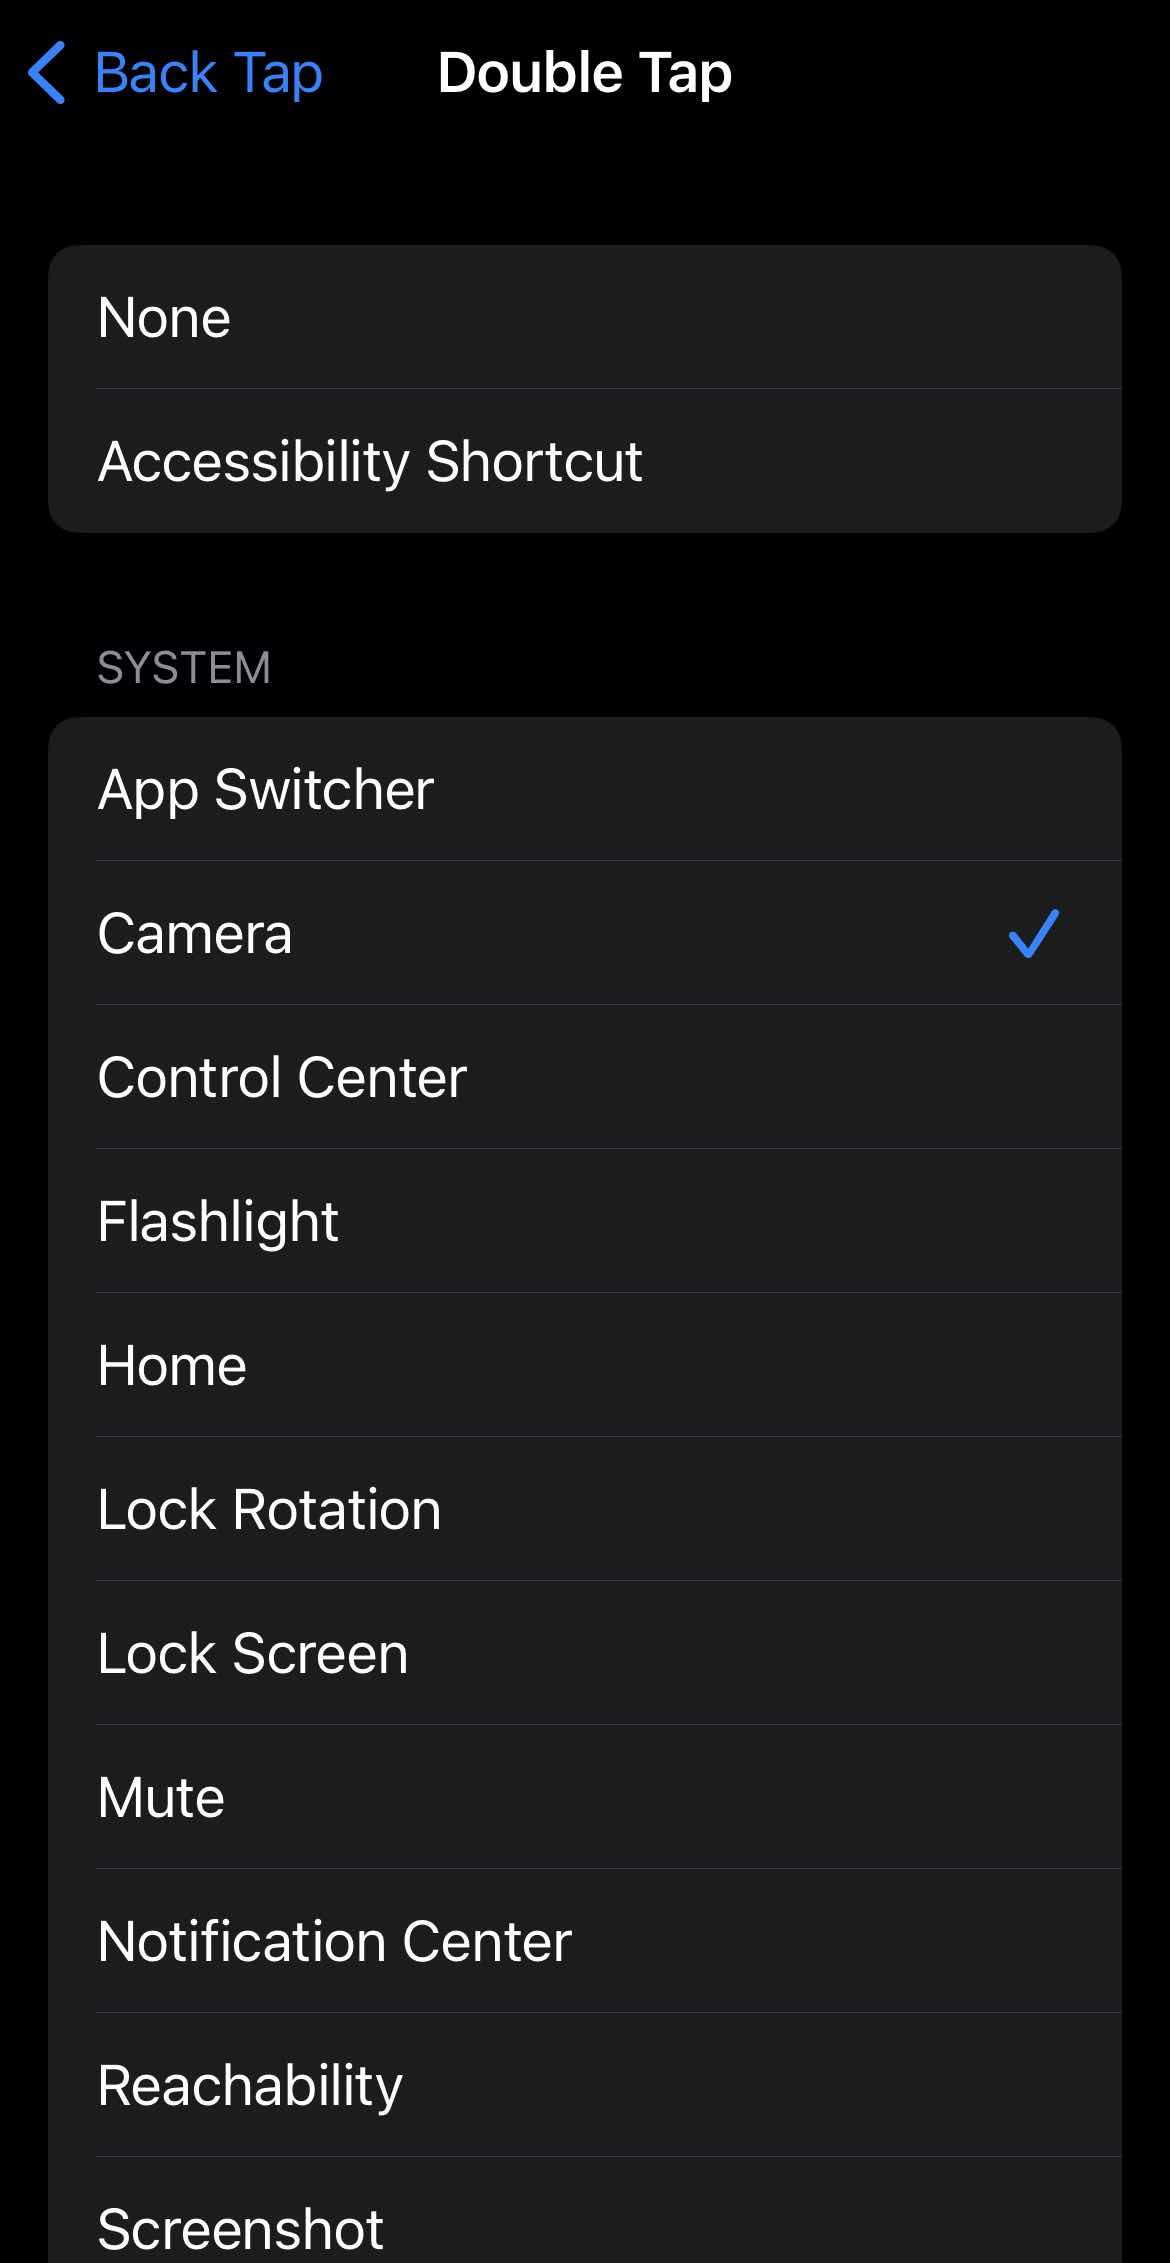
Location: “Settings”> “Accessibility”> “Touch”> Scroll all the way down> “Back Tap“
Basically, this requires you to tap the back of your phone to perform pre-defined actions such as checking your health status…s. You can choose to either “double-tap” or “Tripple-tap”. It relied on the shortcut instructions to match this auxiliary function setting in the iOS system.
In addition to tapping the back of the phone to turn on the health code, you can also set it as other quick actions, such as taking screenshots, changing wallpapers, turning on and off the flashlight, etc. It is also very convenient to use.
Double-tap
However, on individual devices, the problem of over-sensitive recognition of tapping actions may occur, and misoperations often occur. And the corresponding sensitivity setting is not provided in the system. You can choose whether to enable this function according to your actual situation.
5. Voice control: This Allows You To Use Your Voice To Control Your Phone!
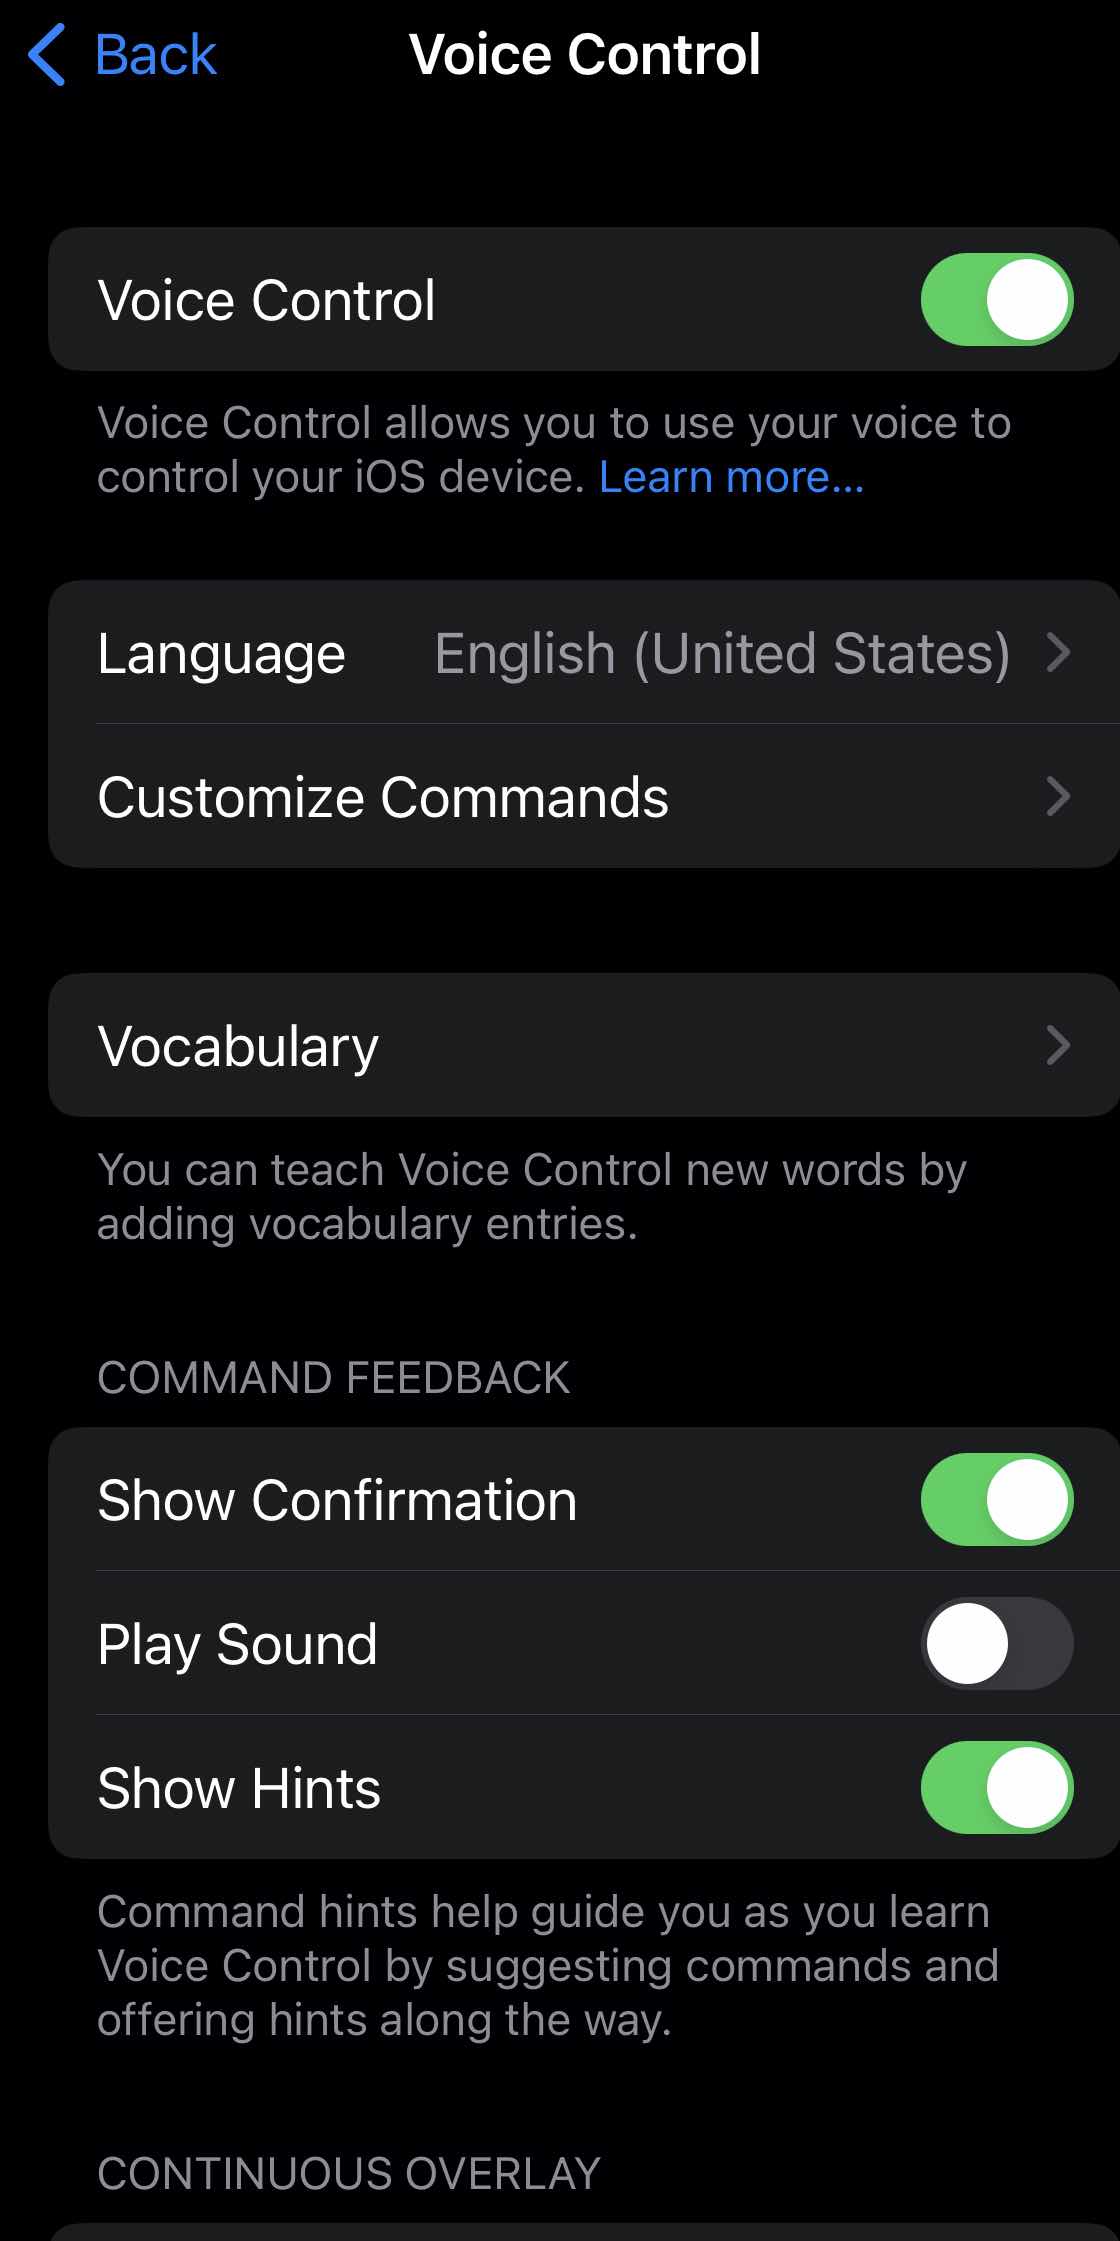
Function Location: “Settings”> “Accessibility”> “Voice Control”
From iOS 15, “Voice Control” has added support for Chinese commands.
Through some simple voice commands, the device can be operated. Supports everyday software-level operations such as tapping, long-pressing, and sliding.
You can also use voice commands to adjust the volume, lock the screen, and do other operations involving buttons. You can view these commands separately in each function option.
Customize Commands for Voice Control
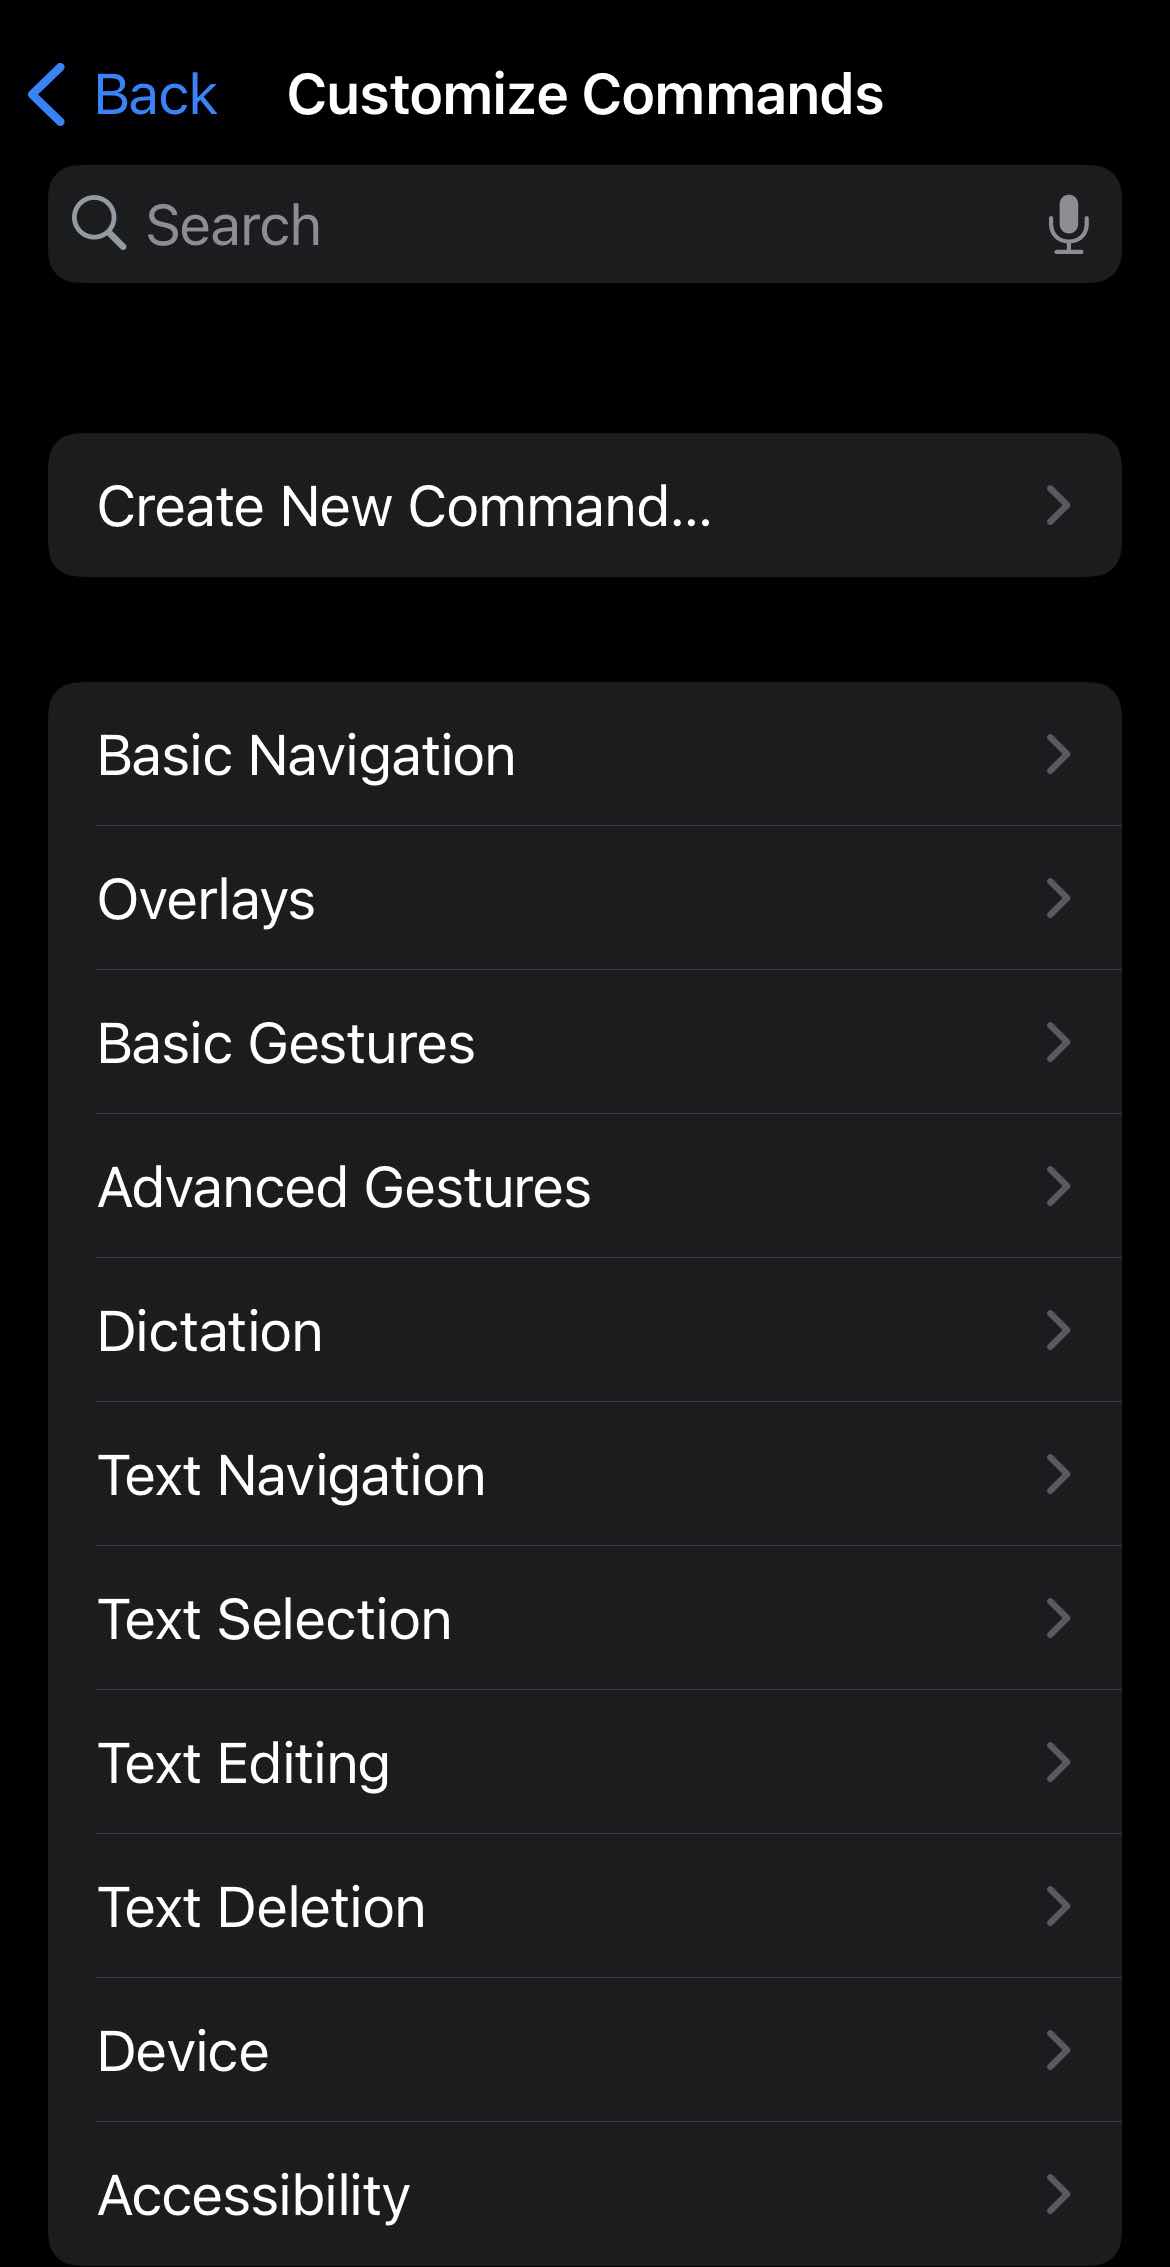
There are preset commands under this menu. However, you can also create your instructions by pre-recording gestures to achieve your own personalized operation. On the Internet, I also found a demonstration of using voice control to enter a password to unlock the screen automatically.
6. Guided access: Prevent “Kids” From Tampering with Mobile phones
Location: “Settings”> “Accessibility”> “Guided Access“
As a result of the aftermath of the pandemic, some schools have moved their classes online for safety reasons.
More parents have to hand over their mobile phones to their children for online lessons and information searches, but at the same time, they worry that their children’s self-control is not enough to resist the temptation of short video apps and games.
After all, parents can’t supervise their children all the time.
What is Guided Access on IOS Devices?
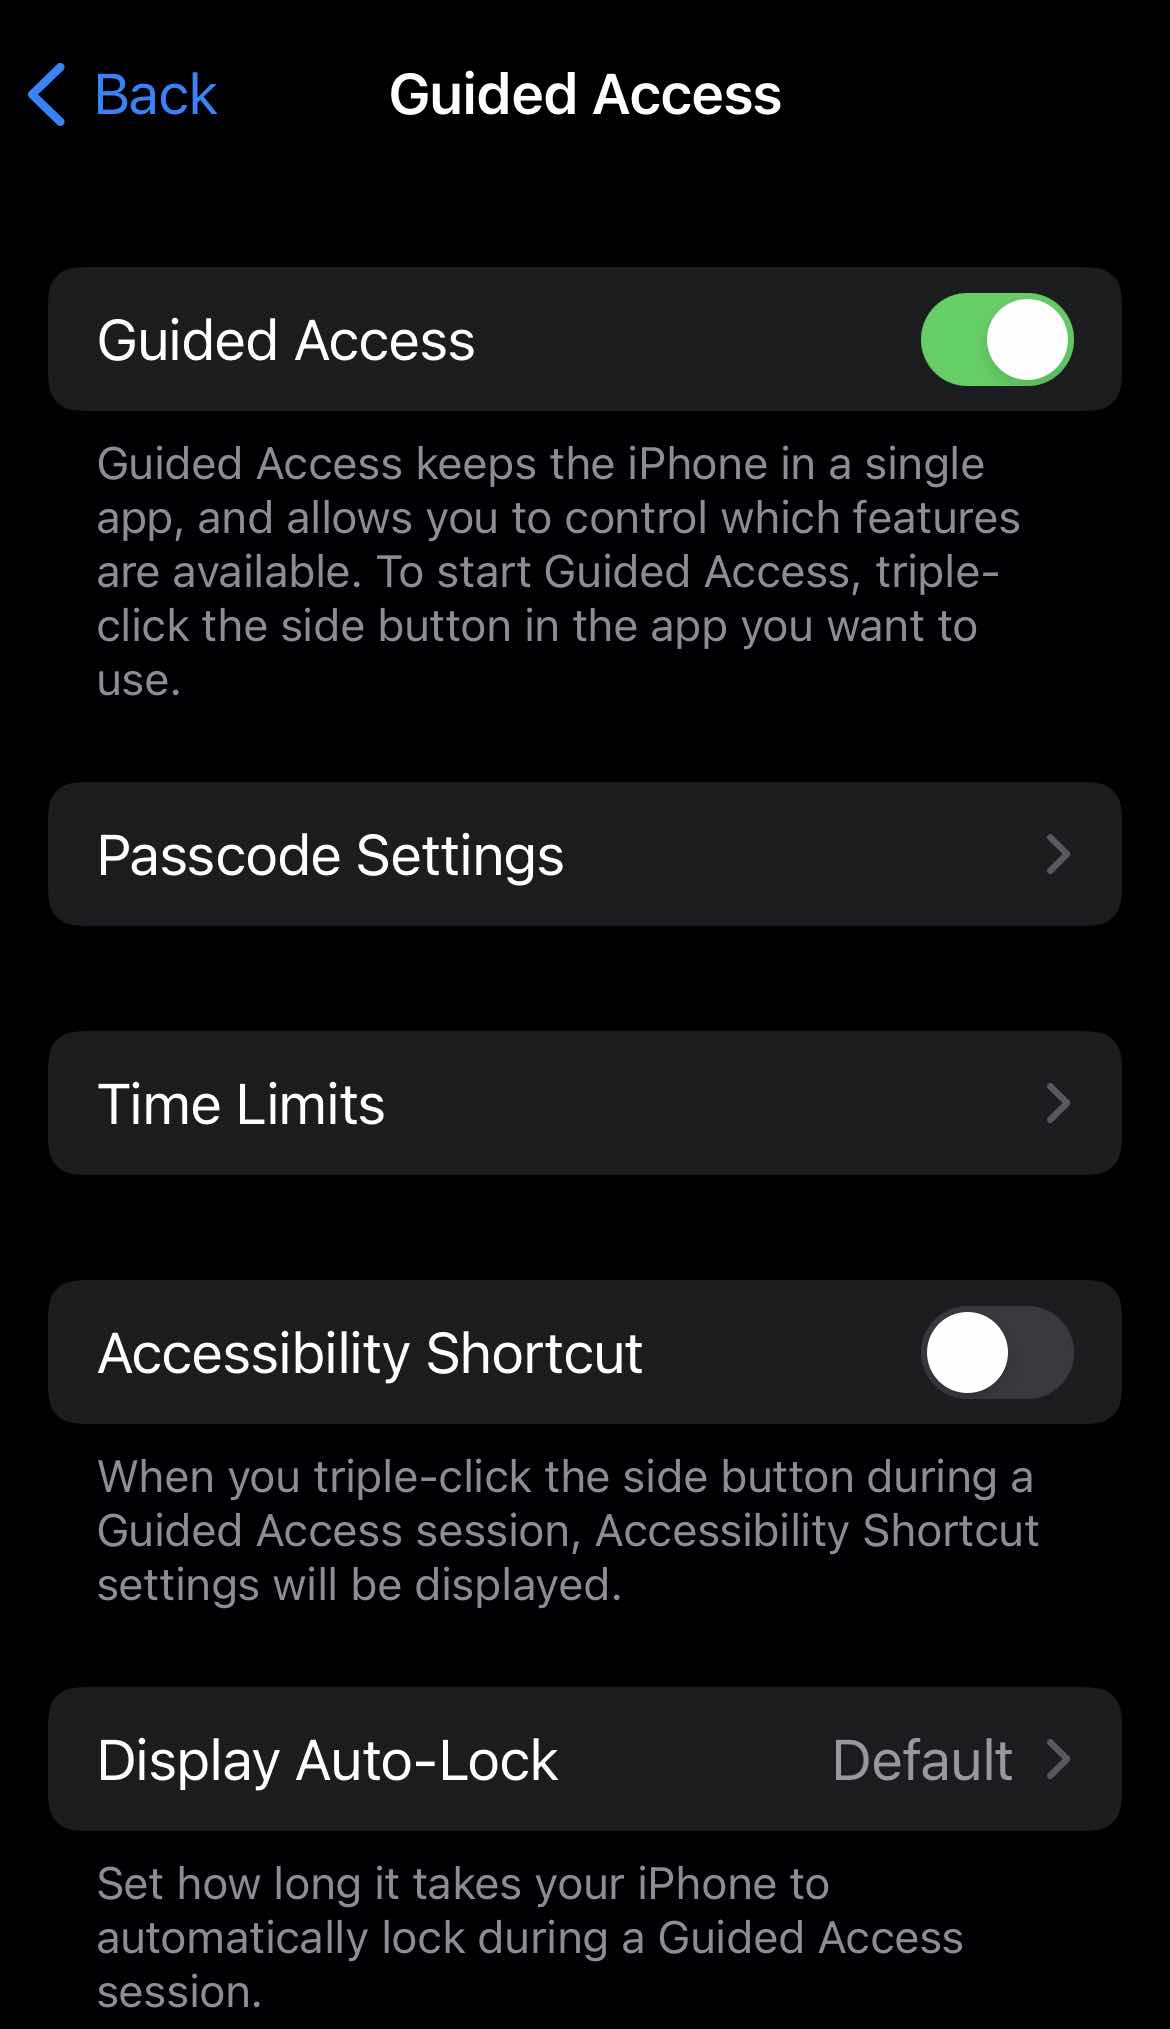
The “guided access” feature allows the phone to display only the app specified by the owner of the phone. The restriction cannot be canceled at will after setting the function password or biometric authentication method.
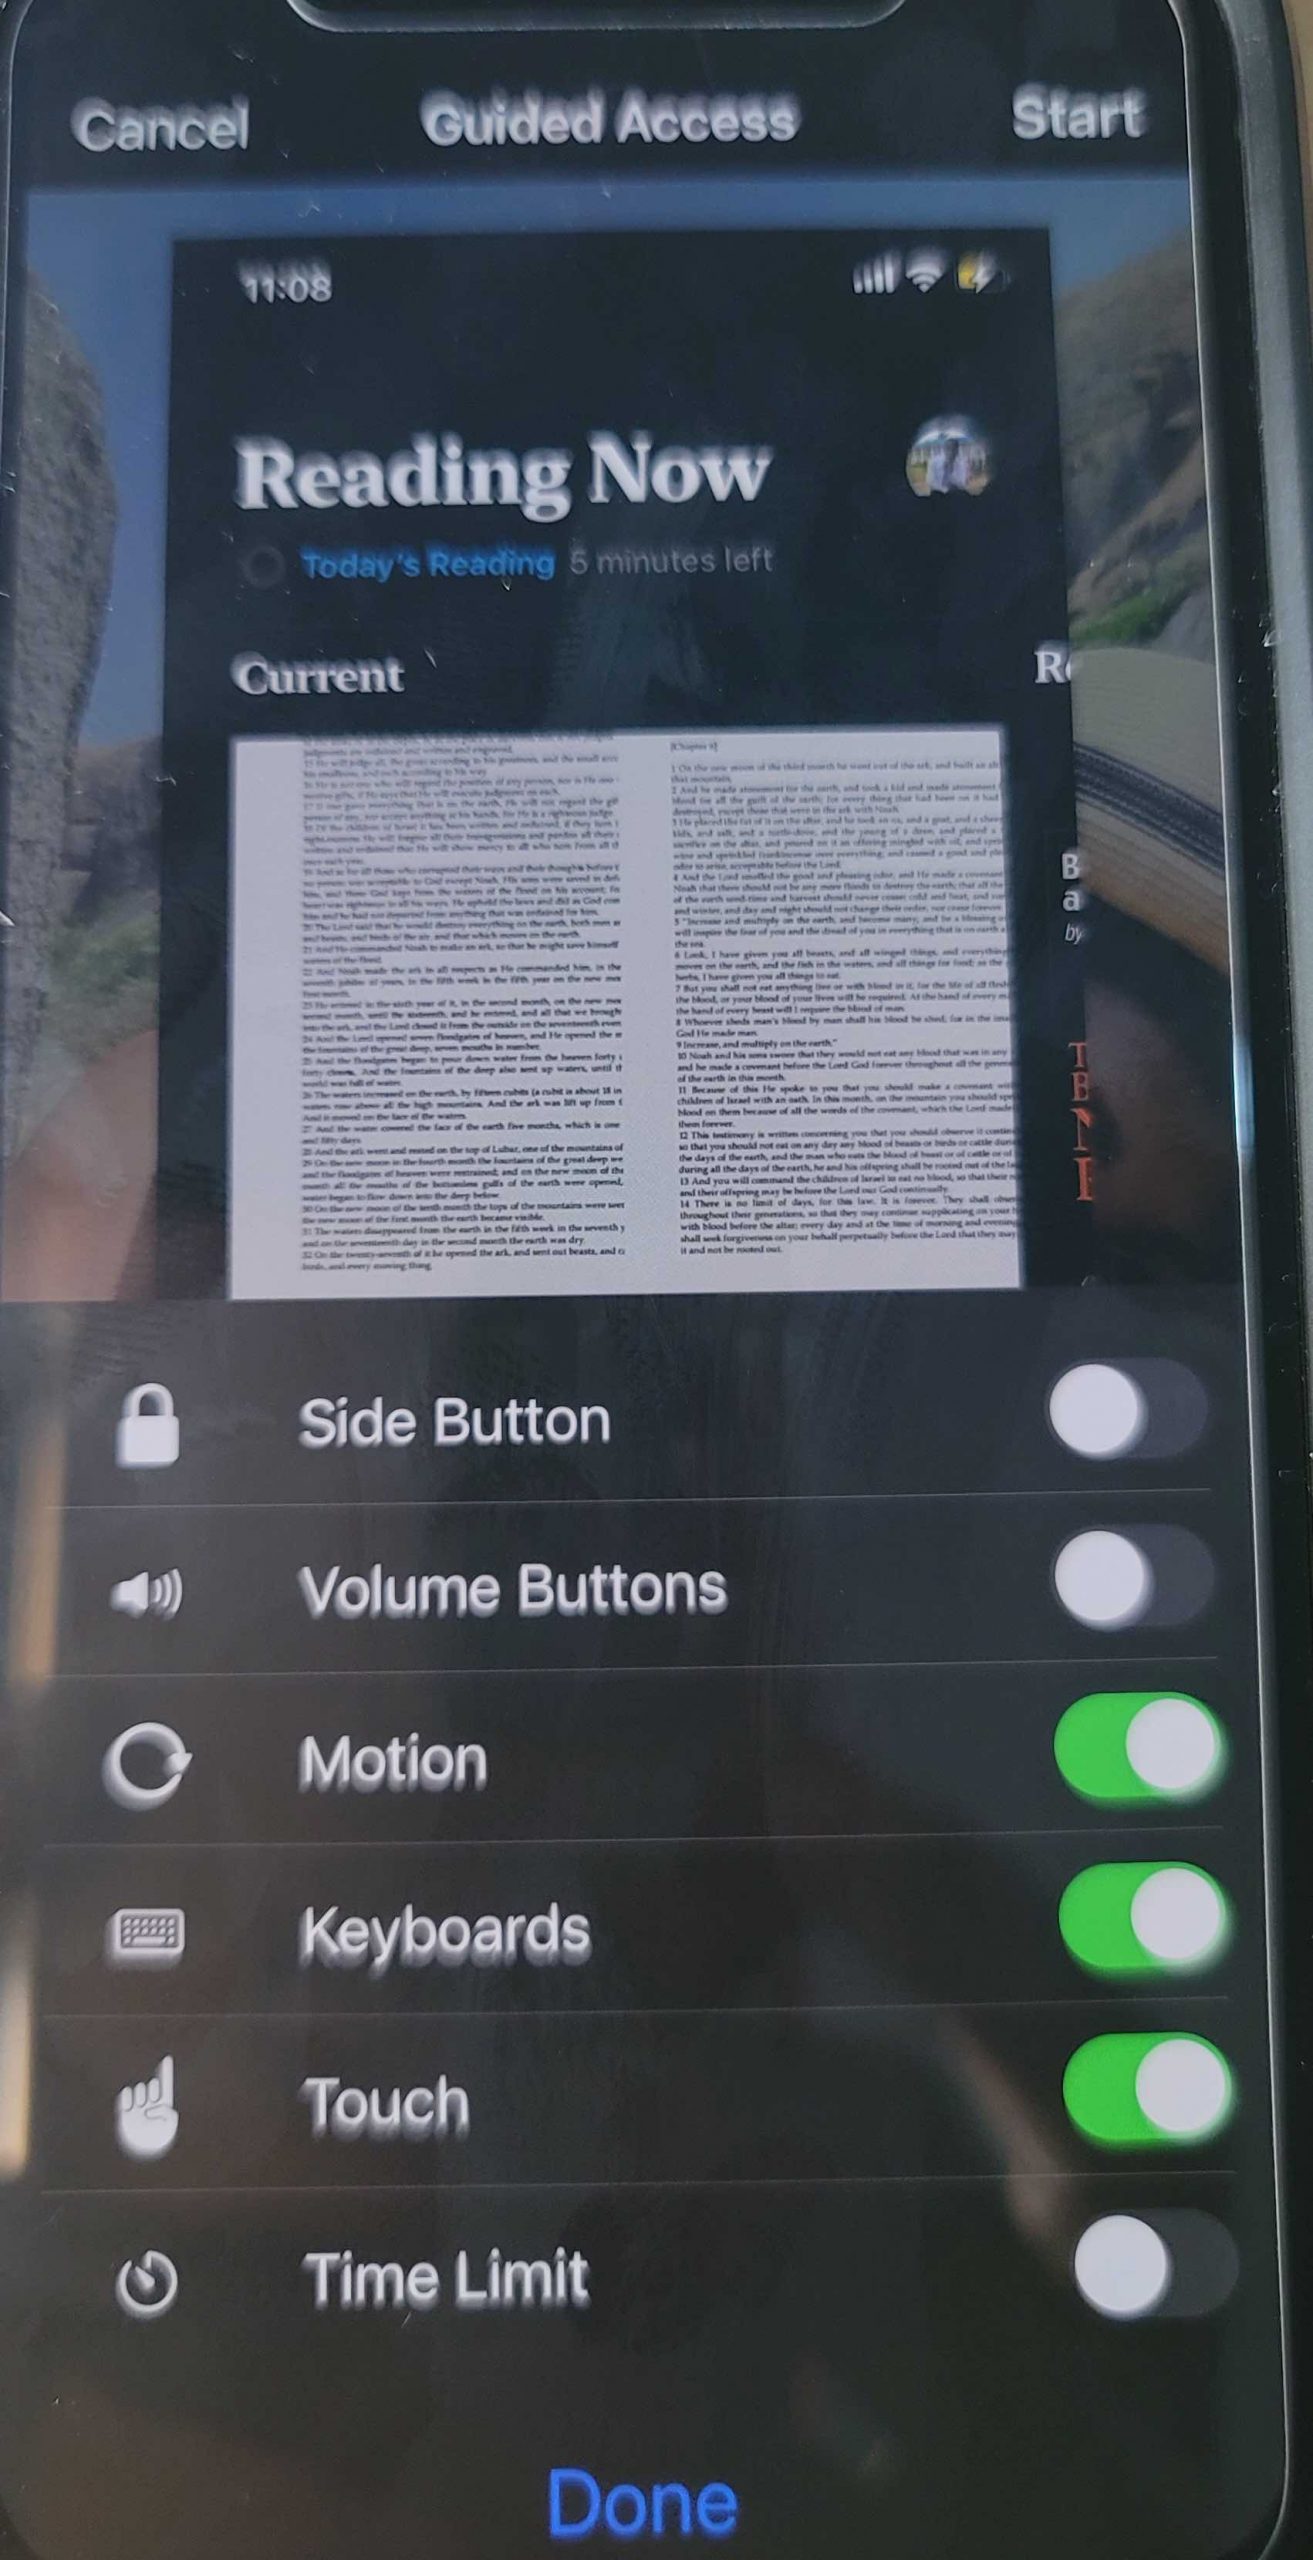
For example, you can turn on “Guided Access” in the online class app, and the mobile phone will keep running only the online class app. You can neither log out nor switch to other apps, which to a certain extent, avoids distraction when children use their mobile phones to attend classes.
Another example is is when your child needs to look up words, turn on the “guided access” in the translation app so that the phone will remain in the interface and cannot switch to other apps for operation.
You can even adjust the “Guided Access” setting, set it to prohibit the screen lock and adjust the volume in this state, and according to the situation, completely turn off the screen touch response. It can be said to be a good helper for children to learn.
6. Accessibility Shortcut keys: “One key” to Open Accessibility
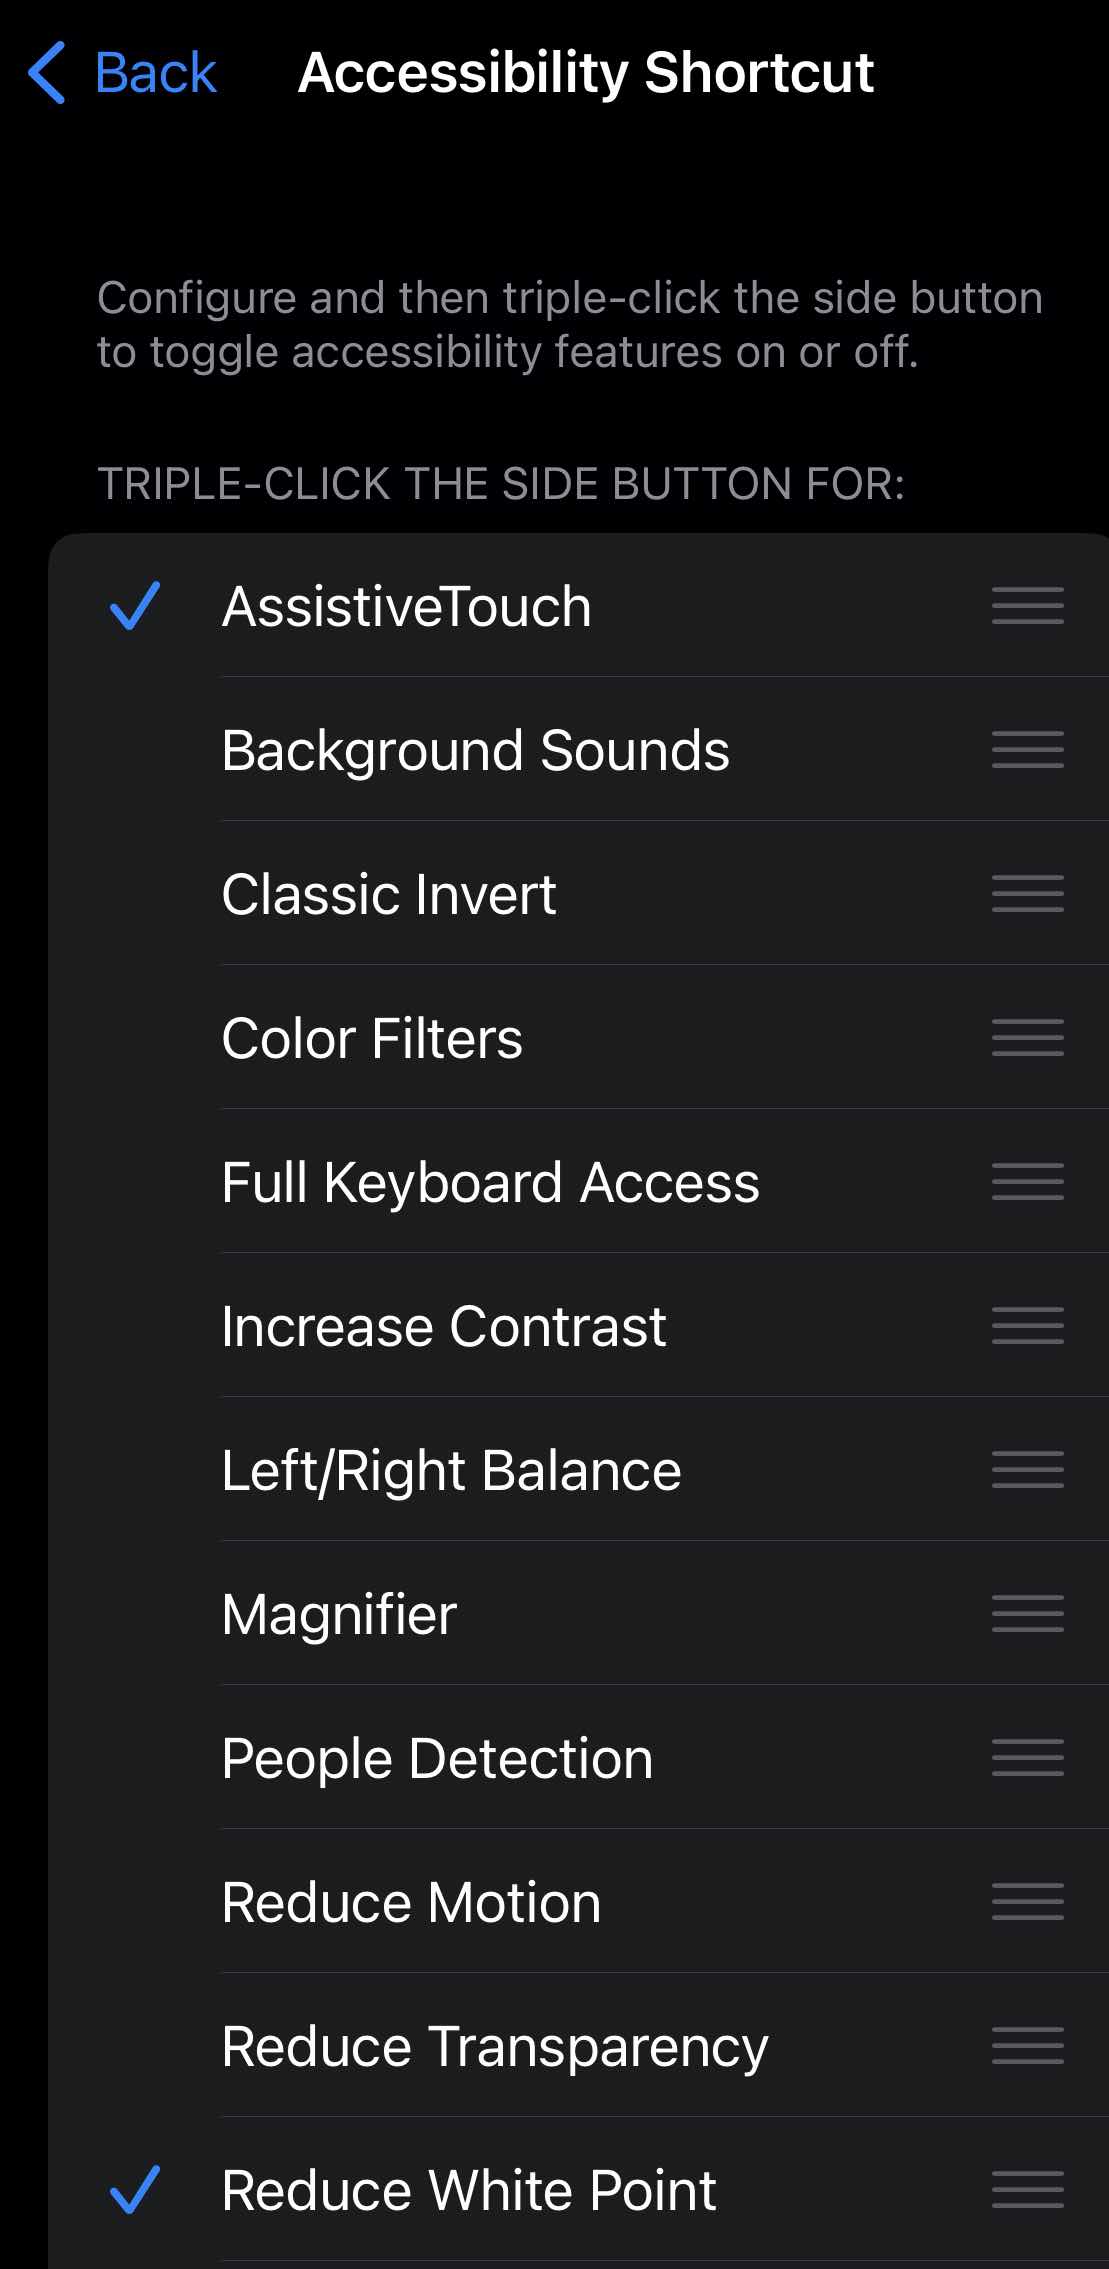
Path: “Settings”> “Accessibility”> “Accessibility shortcut.”
TO TURN ON OR NAVIGATE TO THE ACCESSIBILITY SETTINGS EASILY, YOU CAN ASSIGN A SHORTCUT TO THE ACCESSIBILITY MENU.
All you need to do is to select the function you need in the settings. No matter where you are in any App, you can quickly enter the options you need through the accessibility shortcut keys.
Accessibility shortcut keys to enable effect sound recognition: help you “hear all directions.”
For instance, when the sleeping baby cries suddenly, you must attend to him in time.
Also, some alarm sounds may indicate an emergency; a dog barking may be caused by a stranger entering the house.
If you fail to respond to these sounds in time due to the influence of headphones, you may be endangering yourself or others.
And “voice recognition” can cope with such a scene. You can turn on the type of sound that needs to be recognized in the settings so that the system will pop up a reminder even if you are playing music.
7. Sound Recognition
Location: Settings>>Acessibility>> sound recognition
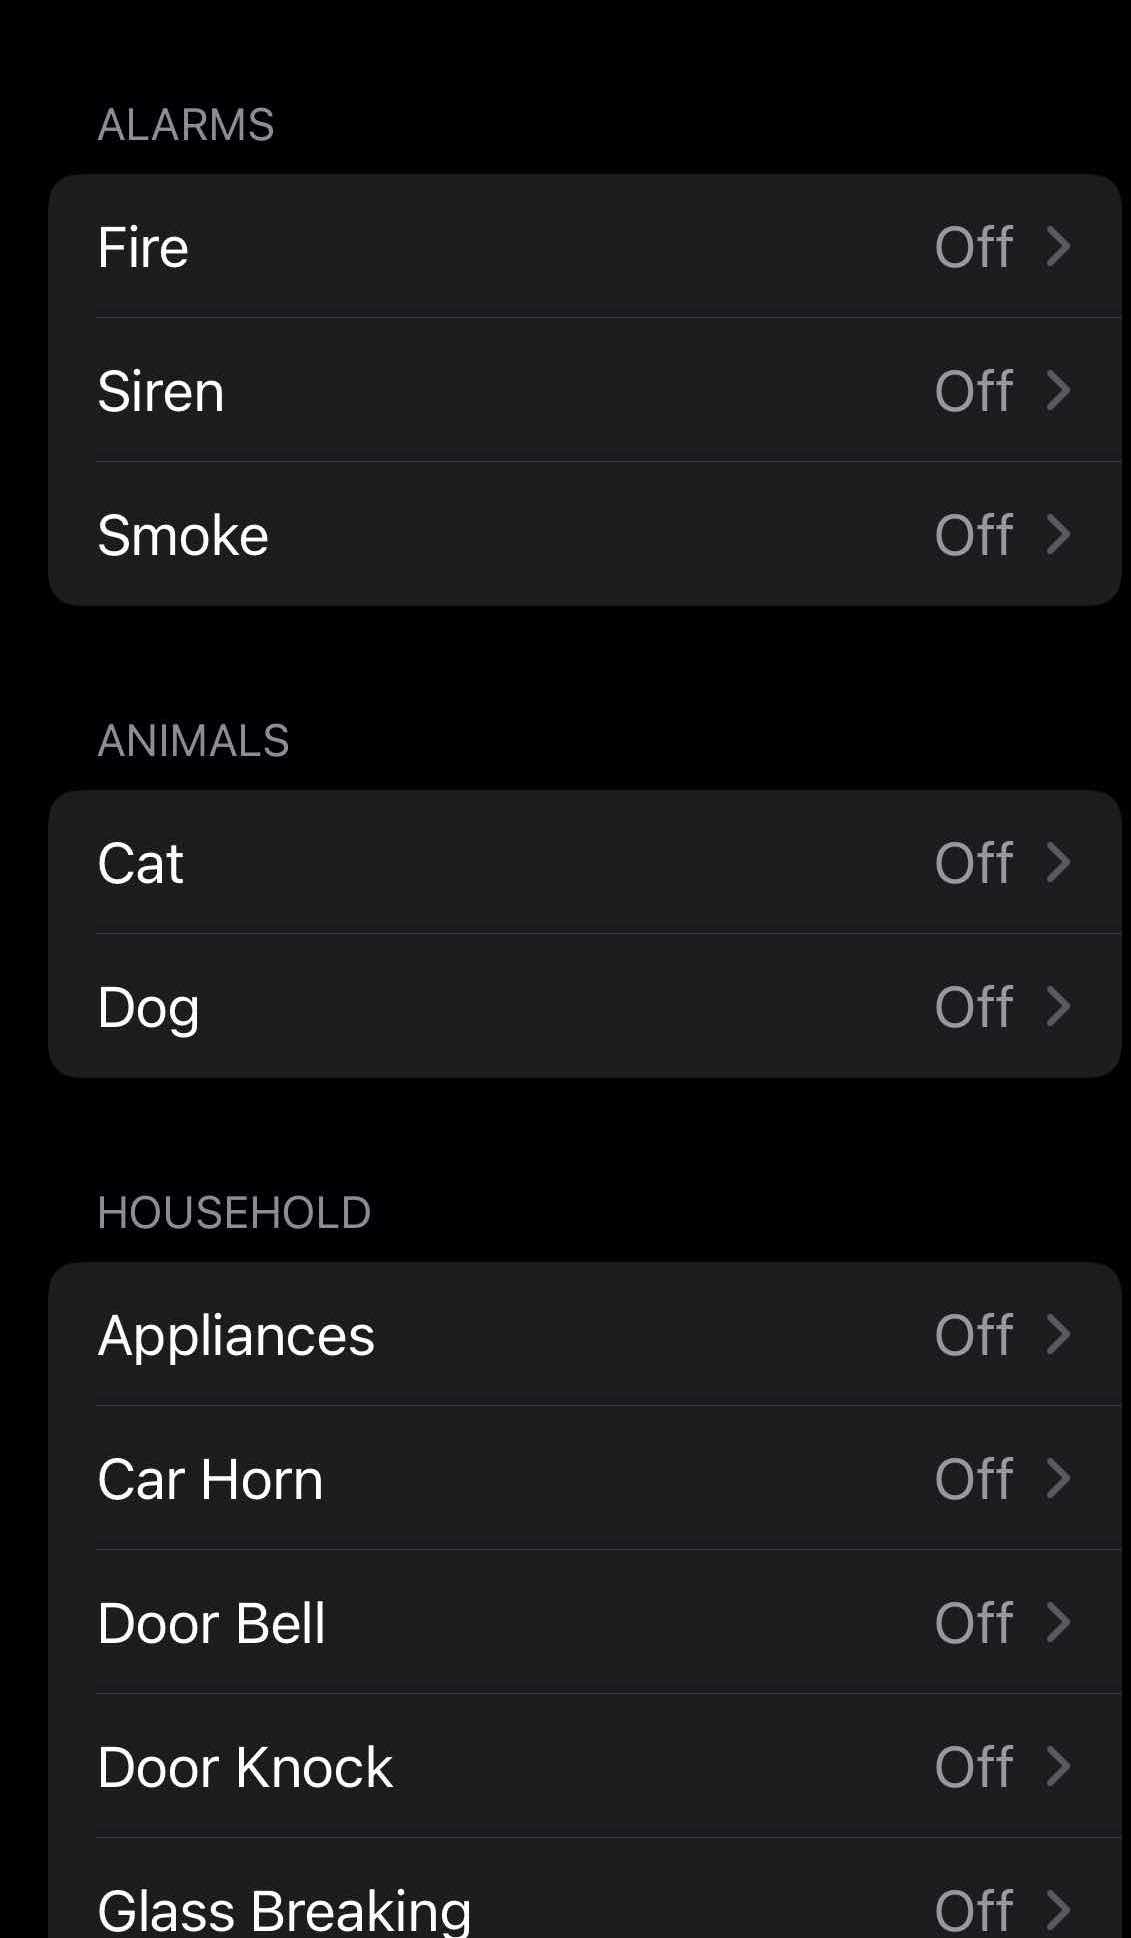
You can choose the type you need from the 16 sounds provided by the system and set the corresponding prompt tones for different sound types.
In the description of auxiliary functions on Apple’s official website, the device processes and recognizes ” voice recognition ” locally and can be used without connecting to the network.
Note: Hey, Siri will be unavailable while sound recognition is in use. hey Siri will resume once you disable sound recognition
Accessibility Features Description and Summary
For most people, accessibility features do not have a strong sense of existence but still contain a lot of “black technology”, which can help more people use smartphones. Through the magical use of auxiliary functions, the mobile phone is more convenient to operate, which brings convenience to ourselves. As the accessibility slogan said: “make it exclusive to you”.
Leave a Reply